
Understand Customer Segments on Customer Locations
Last Updated:What's in this article?
What is the Customer Segments field on Customer Locations?
The Customer Segment field on the Customer Location allows Organizations to create multiple Customer Segments to organize their Customers into groups and provide an more personalized experience by Customer Segment. This means Organizations will be able to send different communications based on the Customer Segment, route different Customer Segments to different queues, or show different Knowledge to Customers based on their Segment.
How do I set my Customer Location's Customer Segment?
To set a Location's Customer Segment:
- Navigate to the Customers activity and open the Location you want to add to a Customer Segment
- Select Edit at the bottom of the Locations Events and Details panel (second panel)
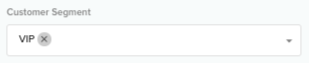
- Under the Locations header, select the drop-down for Customer Segment and select the Segments you want to assign to this Location
- Select Save to save the changes to the Customer Location
How can I define the list of Customer Segment options available?
To update the options available in the Customer Segment field picklist:
- Go to the Settings activity and select the Custom Fields menu option from the left menu under the Organization header
- Select Locations object from the top menu of the Fields activity and click the Edit button (pencil icon) on the Customer Segment row (Field Name = Customer Segment)
- Select the Edit Field button at the bottom of this activity
- Under the Picklist Values header, a table displays the current Customer Segment options available.
- To add a new Segment option, click the New button to the right of the Picklist Values header to add a blank row to the Picklist Value table. Fill out the Picklist Value and API Name columns to add a new Segment option
- To remove a Segment option, click the Delete button (trashcan icon) on the Segment row you want to removeOnce all the updates have been made to the Picklist Values table, select Save & Exit at the bottom of the activity to update the Customer Segments picklist options.
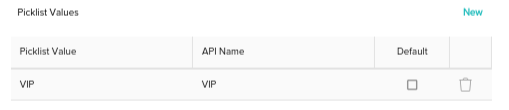
- Once all the updates have been made to the Picklist Values table, select Save & Exit at the bottom of the activity to update the Customer Segments picklist options