Change the Customer on a Case
Move a Case from one Location to another.
Last Updated:What's in this article?
Change Customer
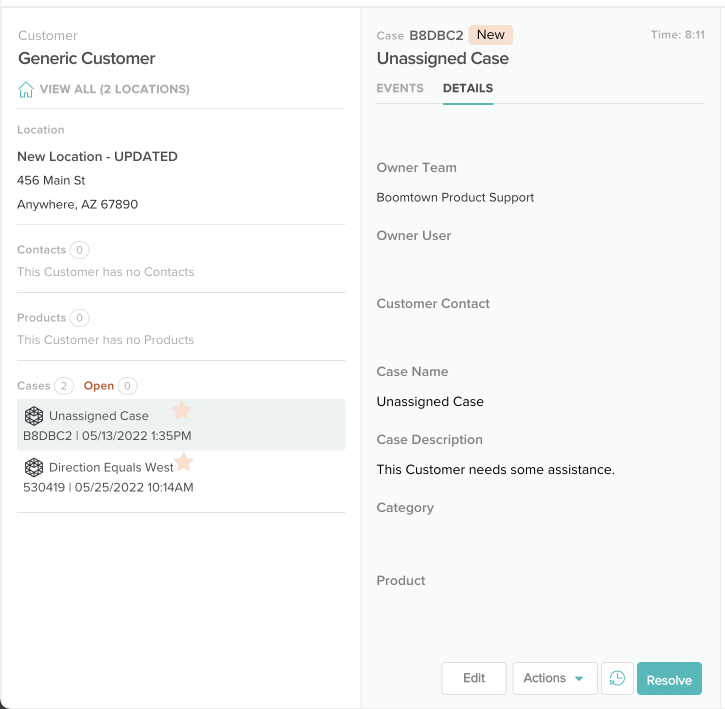
Sometimes it may be necessary to move a Case from one Location to another. You can easily do so in the CX Manager. Let's take a look!
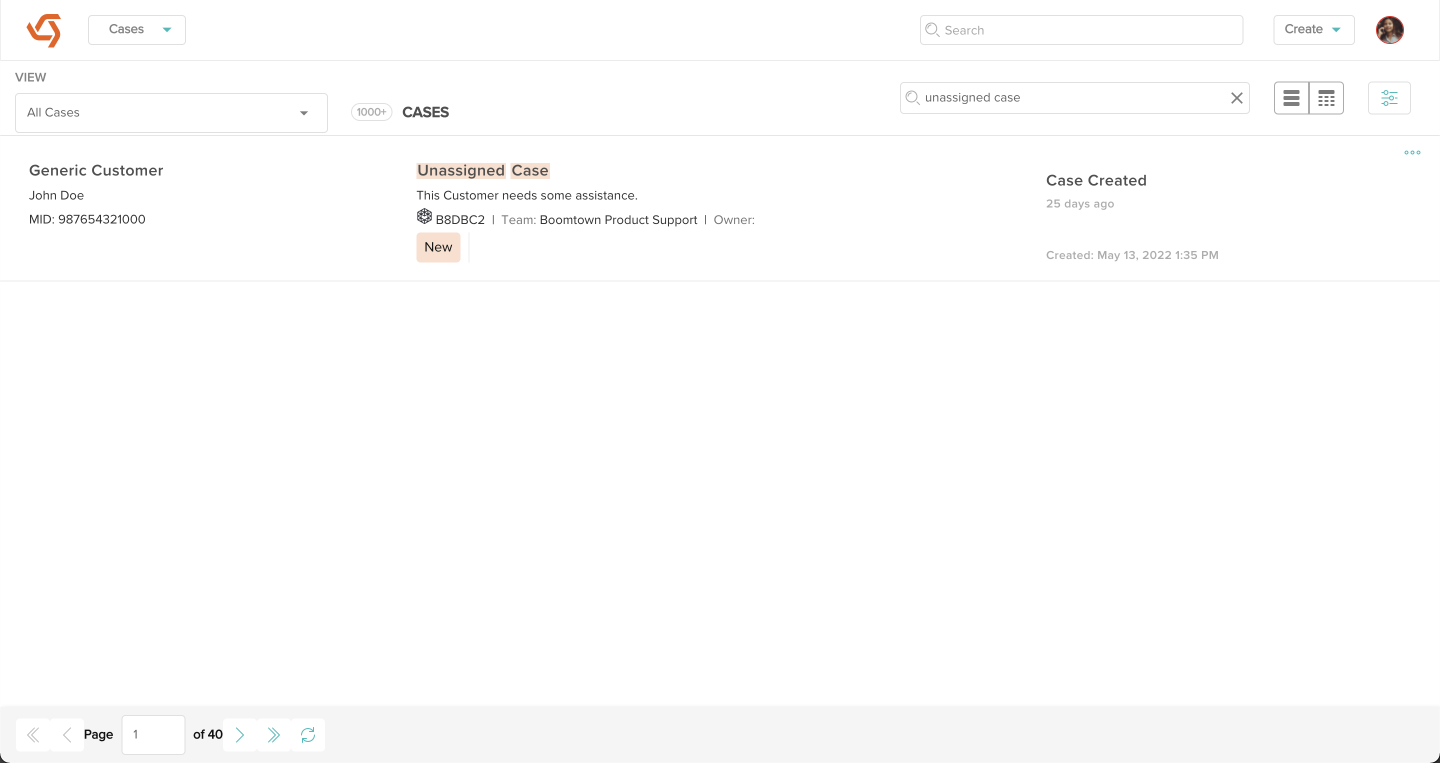
- Access the Case you wish to move. You can find Cases using the Site Search bar at the top or the individual search bar in the Cases view.
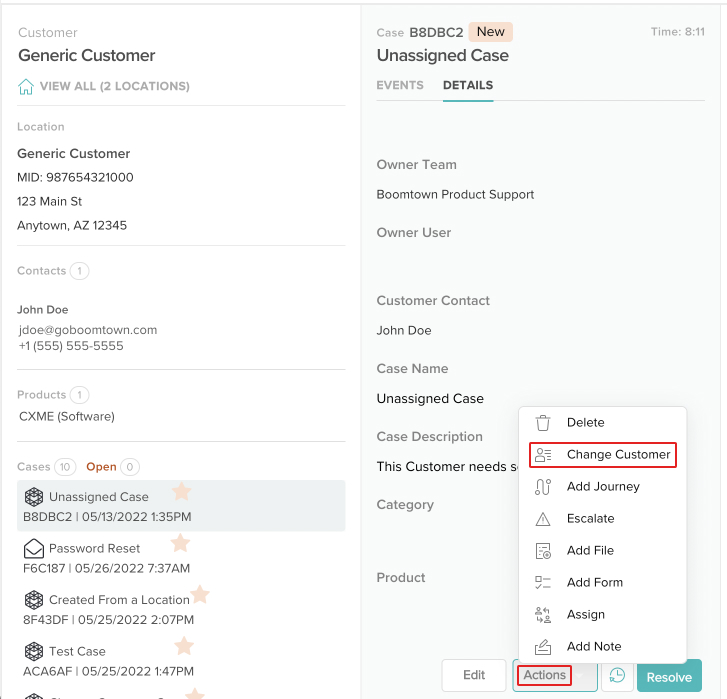
- In the Case panel, click the Actions button, then click on Change Customer.
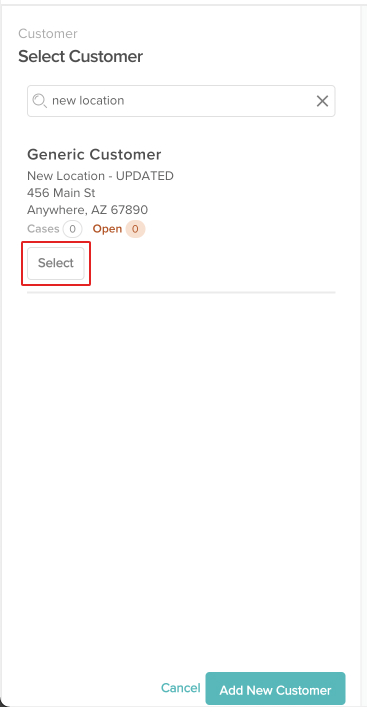
- Use the search bar in the Customer panel to find the Location you want to move this Case to, then click on the Select button under the appropriate Location. A list of Locations will appear below the search bar as you type. You can search for a Customer Name, Location Name, City, or MID (Merchant Identification Number). Certain custom field types are also searchable. If the Customer you want to move this Case to isn't in the platform yet, you can create a new one by clicking the Add New Customer button at the bottom right.
The Add New Customer button may not be visible depending on your Role & Permissions.
- The Case has now been moved!