Set Up a Web Connect Channel
Provide self-help tools and chat live with your Customers.
Last Updated:What's in this article?
Configure a Web Connect Channel
Web Connect channels can be set up and inserted into an external website or even your organization's Knowledge libraries. You can customize the appearance, adjust availability, and even provide specific support solutions to your Customers. You can easily configure a Web Connect channel in the Channels section of the Settings view. Let's learn how!
Your ability to set up a Web Connect Channel depends on your Role & Permissions.
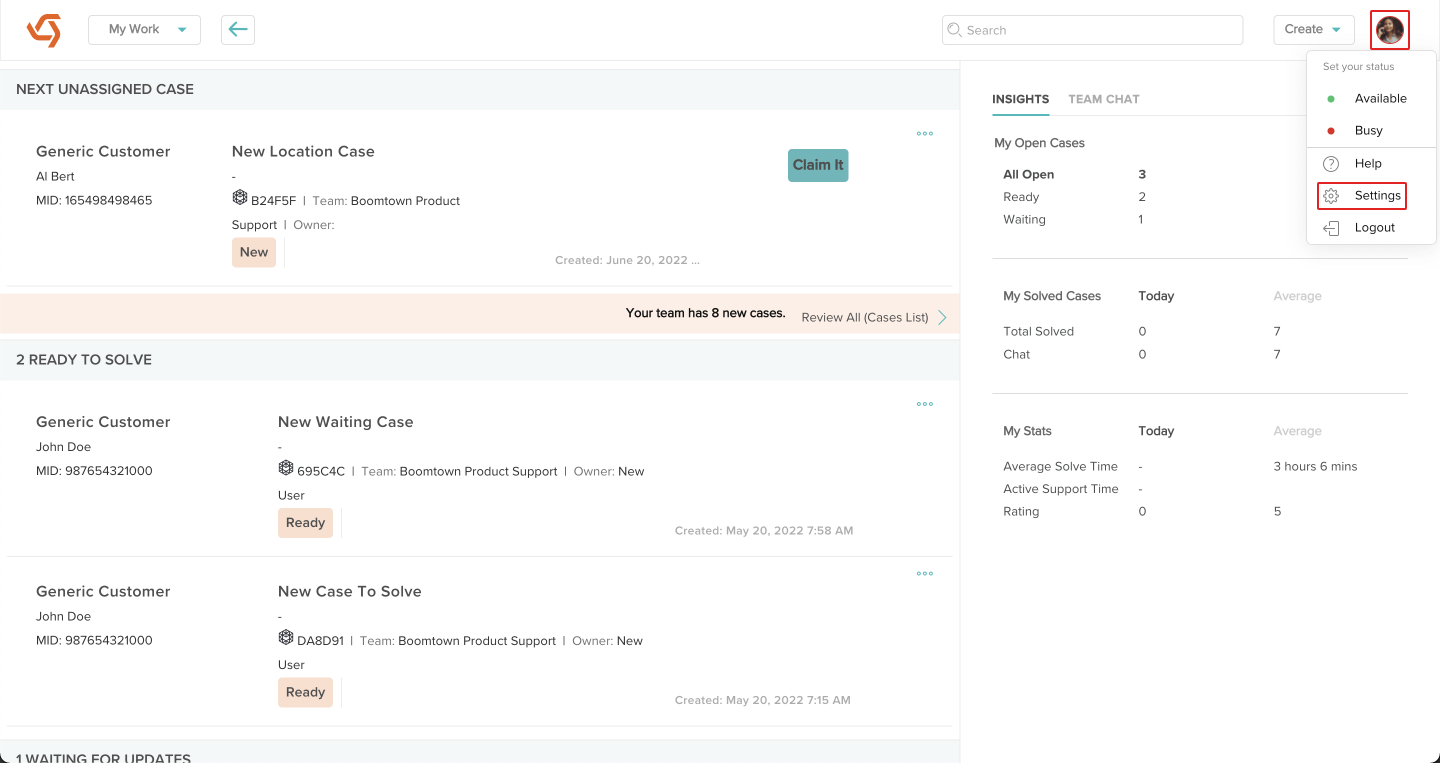
- Click on your avatar at the top right, then click on Settings.
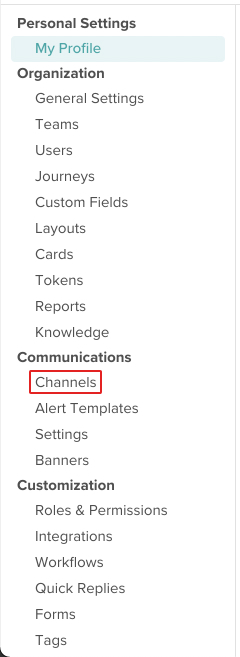
- Click on Channels under Communications.
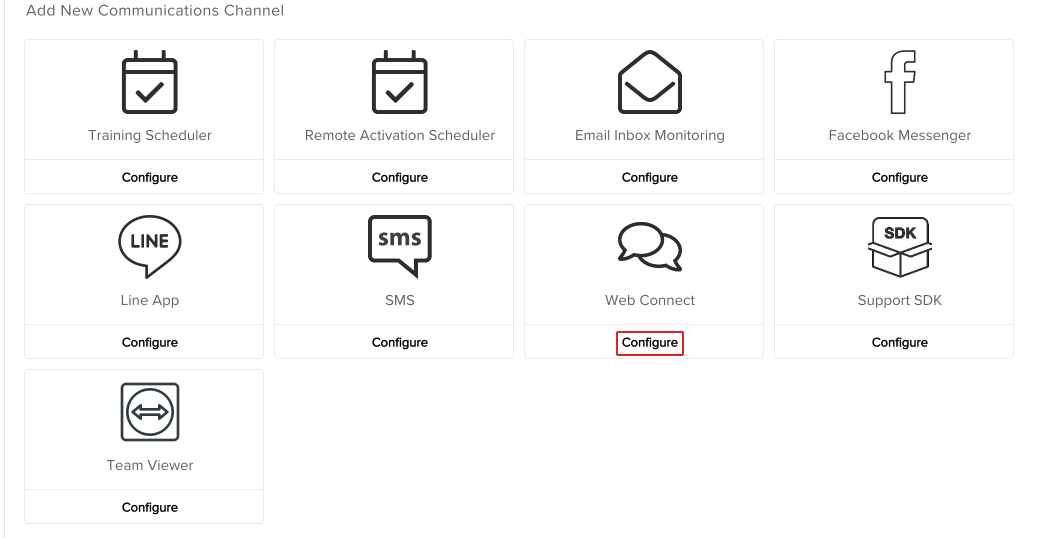
- Click on Configure under the Web Connect channel.
- Update any of the Appearance options you would like. When you are done, click the Save & Next button.
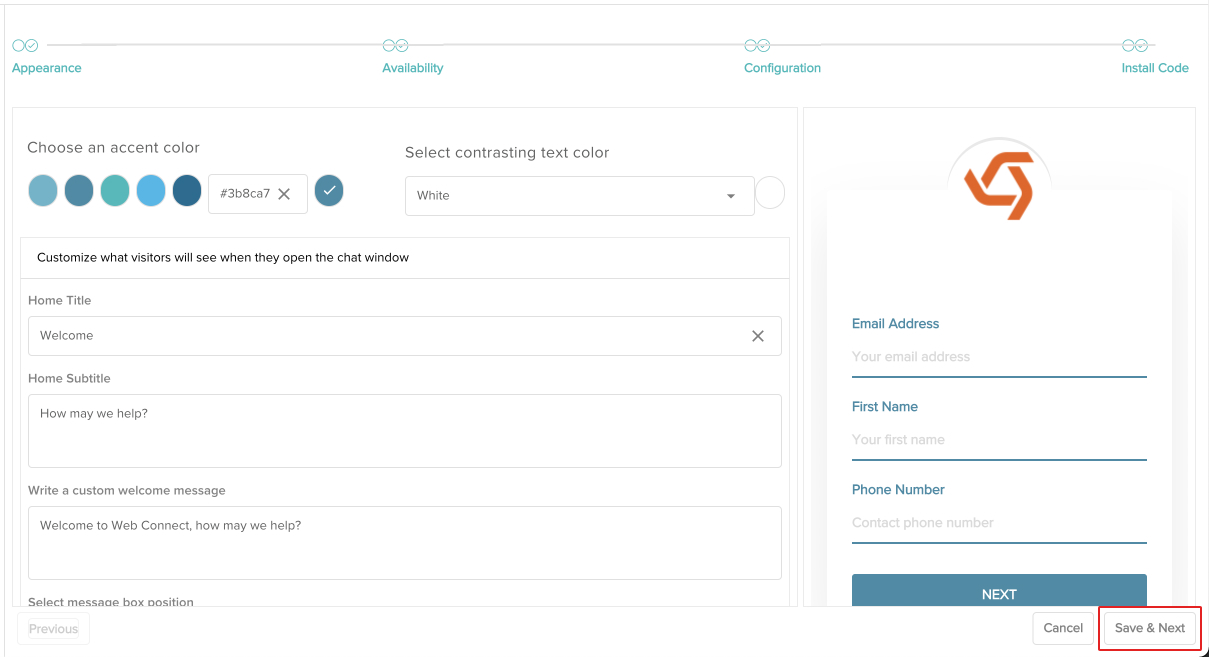
- Choose Always if you want the chat option to always be available to your Customers. You can also set specific hours of availability by clicking on During business hours. You can also update the away message Customers will receive if you do choose to limit the hours of availability under Set your away message. When you are done, click the Save & Next button.
The timezone is based on the Sponsor Team selected on the next screen (Configuration).
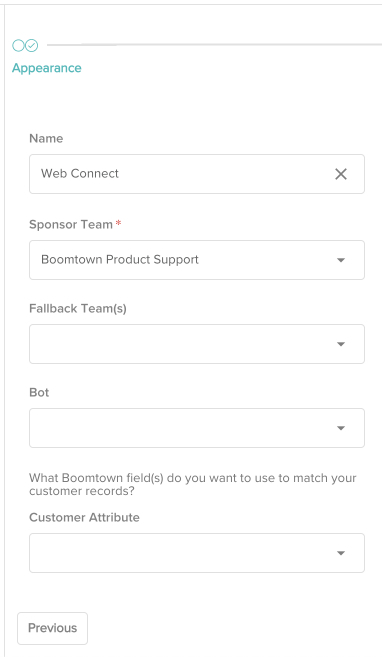
- Update the Name to differentiate this from other Web Connect channels and select the Sponsor Team for the chat Cases that get created. You can also optionally choose a Fallback Team as well as one of your organization's Bots to send messages whenever a Customer starts a new chat session.
A Customer Attribute should only be selected if you plan on using an SSO (Single Sign-On).
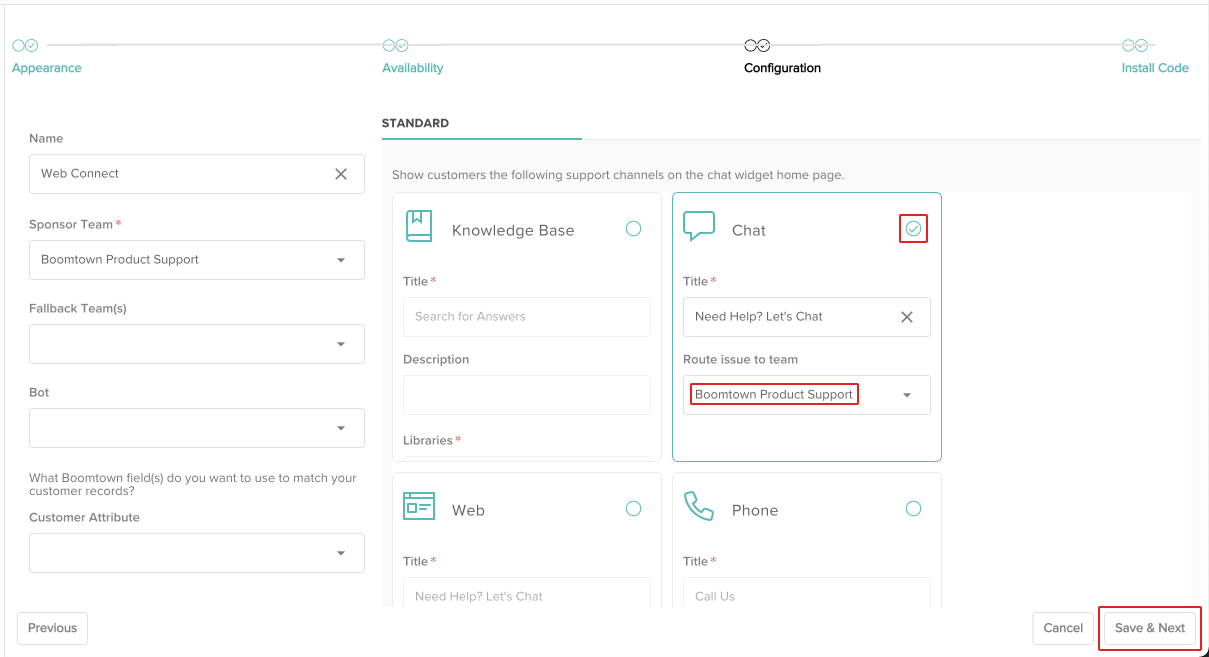
- Enable the Chat option by clicking the circle next to it, then select the Owner Team of new chat Cases from the picklist under Route issue to team. Enable or disable the other support options you would like to offer to your customers by clicking the circle next to them. When you are done, click the Save & Next button.
Required fields will have a red asterisk next to them. You will not be able to save the configuration until they are completed.
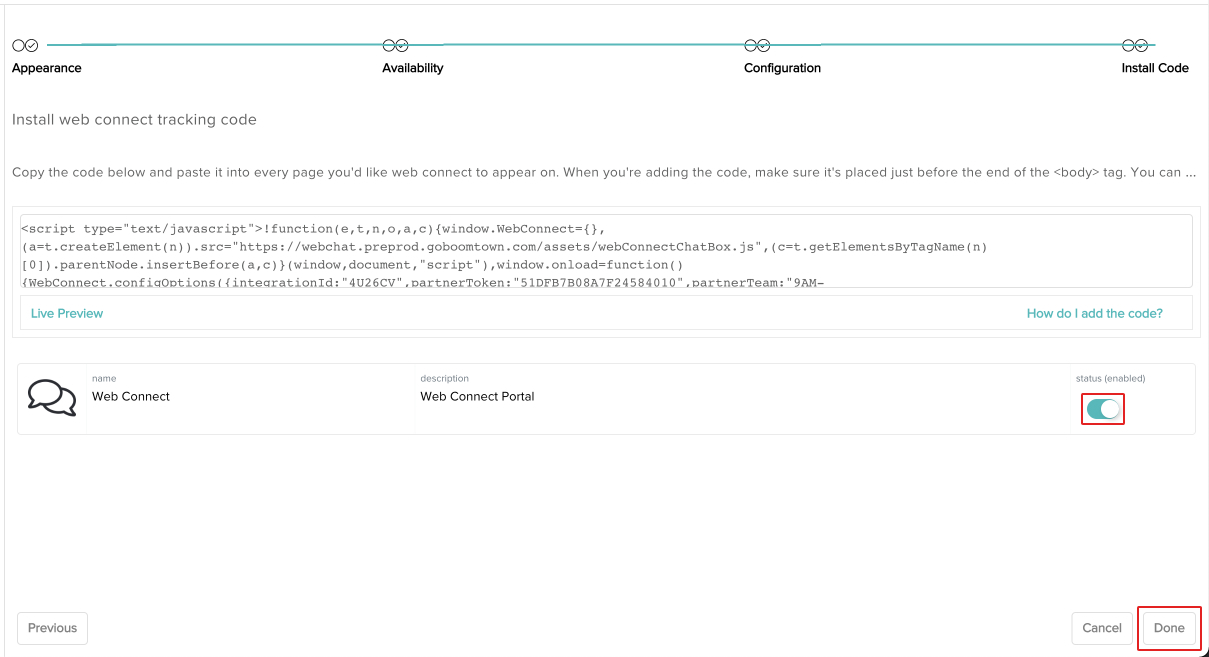
- You can use the installation code to insert your Web Connect channel into an external site. If you are ready to use this channel, enable it by clicking the toggle switch. When you are done, click the Done button.
You can return to previous screens by clicking directly on them at the top or by clicking on the Previous button at the bottom left. You can also test your Web Connect channel by clicking on Live Preview.
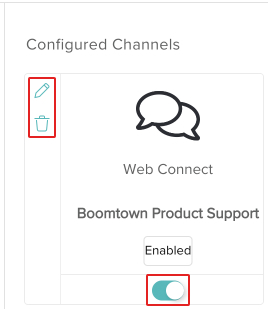
- Your Web Connect channel has been created! You can add it to any of your Knowledge libraries or insert it into an external site using the installation code. You can update the channel by clicking on the Edit icon or delete it by clicking on the Delete icon. You can also quickly enable or disable the channel using the toggle switch.