
How to Submit a Field Service Work Order Request
How to submit a job to Boomtown
Last Updated:What's in this article?
About Boomtown Field Services
If you work with Boomtown to complete in-person field service installations and service requests, this article will walk you through how to submit jobs to Boomtown.
Submitting Work Order Requests
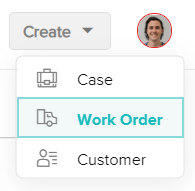
- In the top right, select Create > Work Order
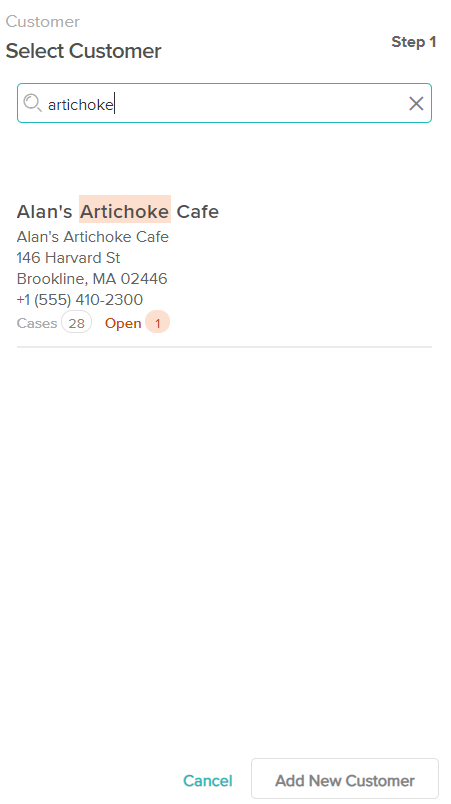
- In the first panel on the left you can search for an existing customer in the system that you want to create the Work Order for
- If you find the customer you are looking for in the search results, click on it to select that customer
- If you do not find the customer you are looking for, you can click the Add New Customer button at the bottom right of the panel and fill in the customer details.
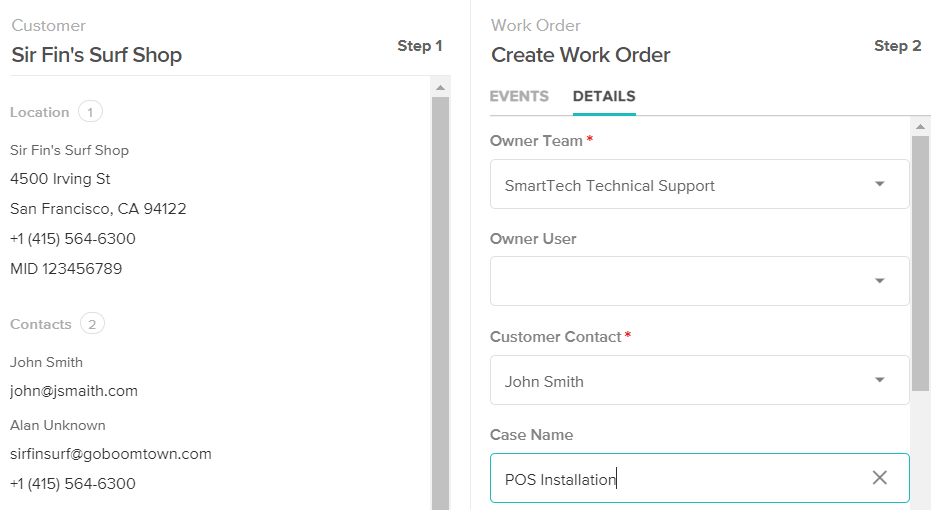
- After selecting a Customer or adding a new one, the second panel will populate. In the second panel you will add in the job details for your Work Order request.
- Set the Owner Team to Boomtown so the Work Order is sent to Boomtown
- Add the Contact for the person Boomtown should schedule the job with.
- If the correct Contact isn’t available, you will be able to add a new Contact and change it once the Work Order is created.
- Complete the Case Name field with a name for your job
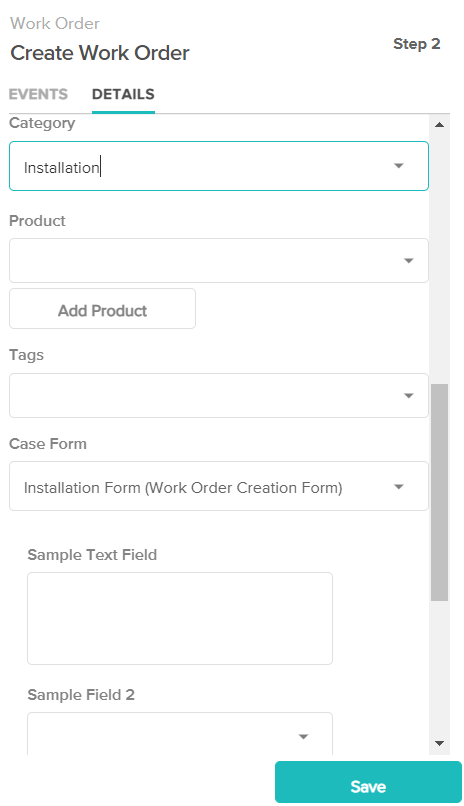
- Set the Category to what the job type is (e.g. if it's a new installation, set the Category to Installation)
- Select the applicable Form and Complete all the fields that populate
- Complete any additional details you have and click Save
- Your Field Service Work Order is now submitted.
Following Your Job Through Completion
Once your request is submitted, you can search for it by name or find it under Cases in the navigation menu. You can check back periodically to get updates on the job, which you will find in the events timeline in the second panel of the Case screen.