
How to Create a Tag Object
Last Updated:What's in this article?
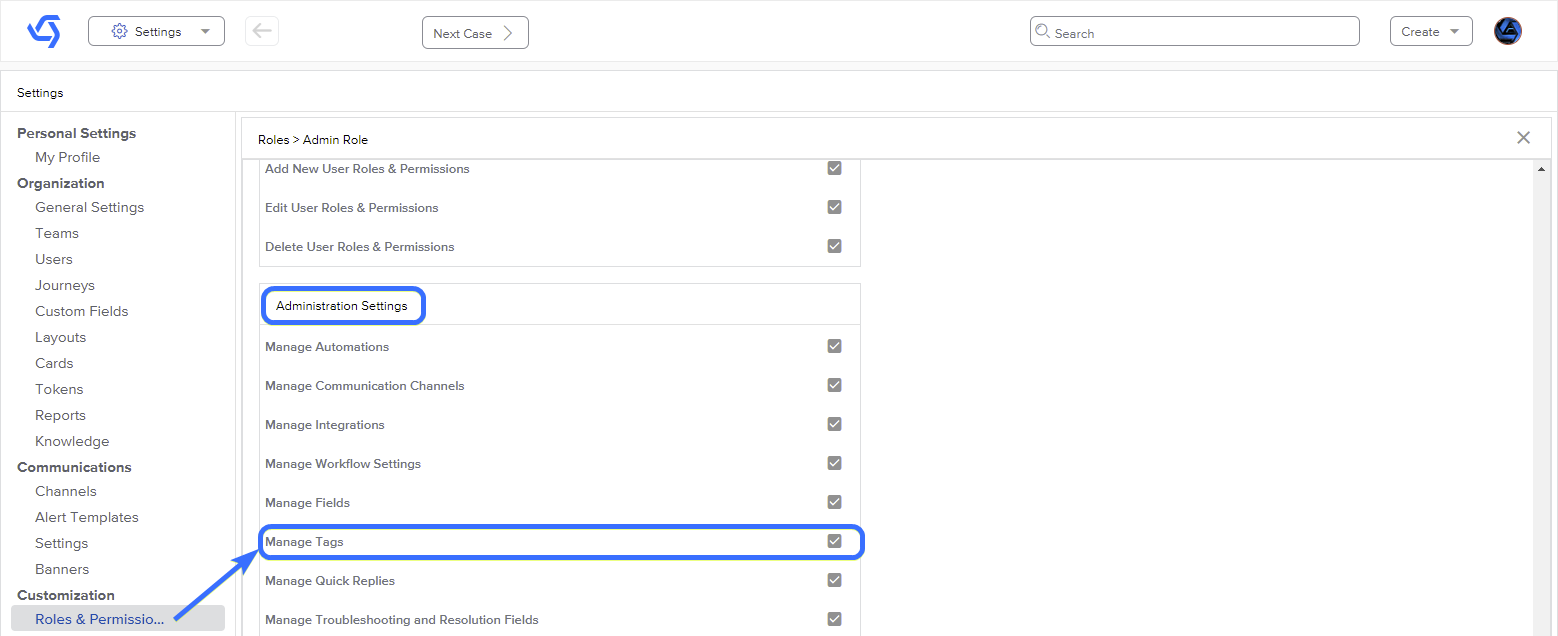
Remember to always ensure that the "Manage Tags" permission is enabled for your user role before attempting to create tags in the platform settings.
Summary:
This article provides a step-by-step guide on how to create a Tag object in the platform's settings. By following these instructions, users will be able to add custom tags to enhance case management and categorization within the system.
Steps to Complete:
- Step 1: Ensure "Manage Tags" Permission
Before you begin, make sure that your user role has been assigned the "Manage Tags" permission. This permission can be enabled under the "Administration Settings" section.
- Step 1: Ensure "Manage Tags" Permission
- Step 4: Add a New Tag
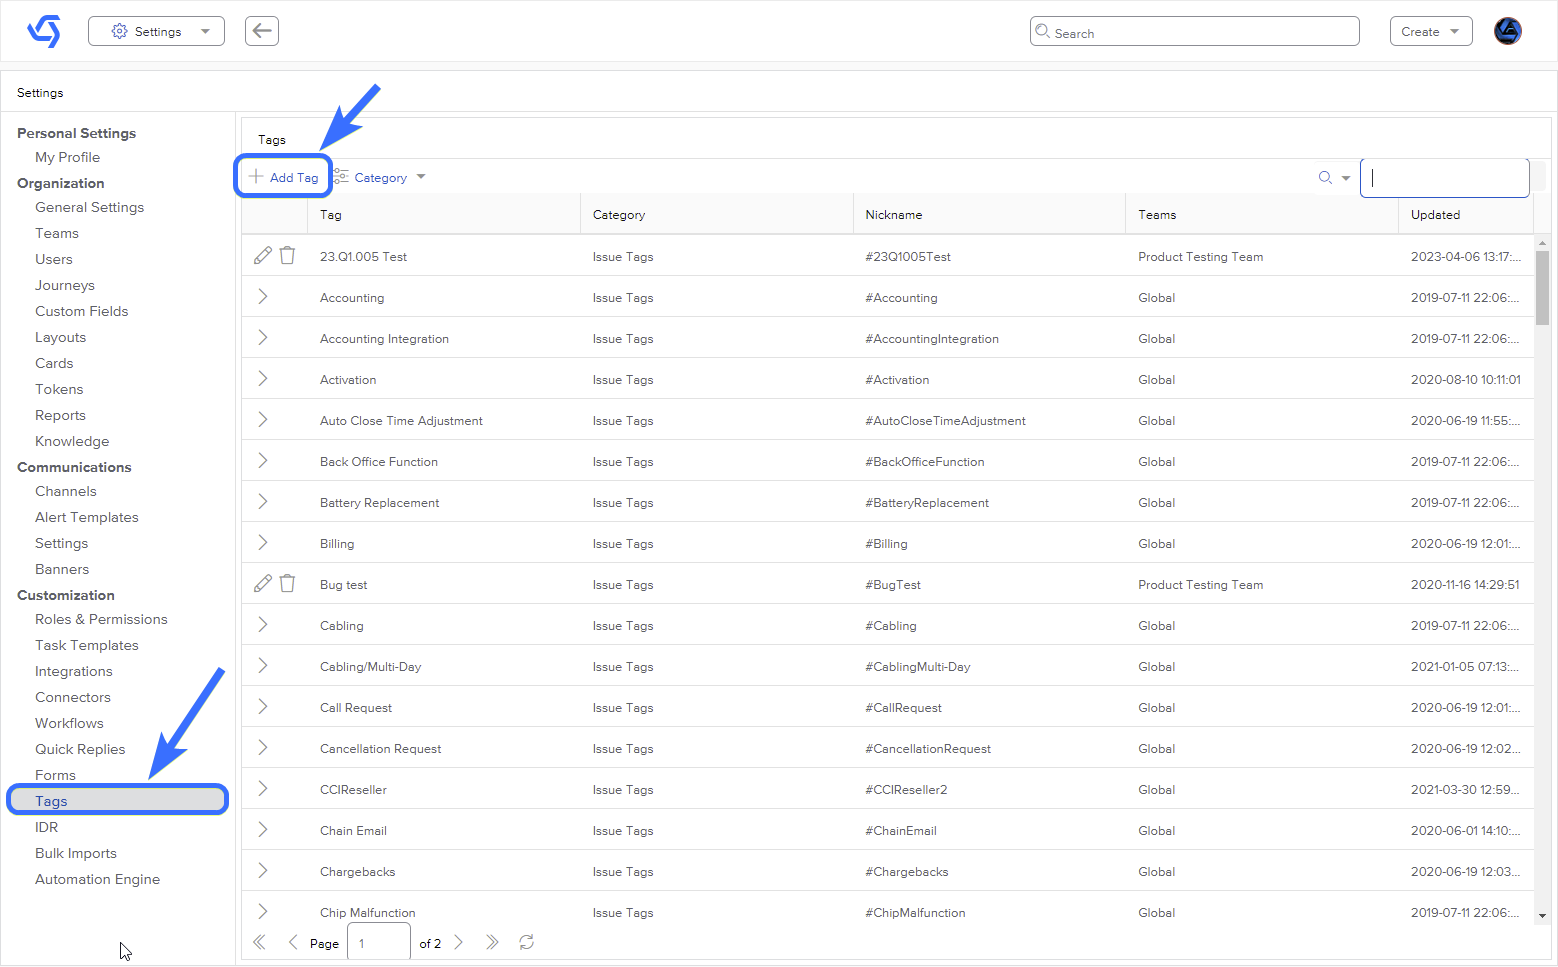
1. On the Tags management page, locate the "Add Tag" button and click on it.
2. A form will appear for creating a new tag.
- Step 4: Add a New Tag
- Step 5: Select Tag Type and Provide Name
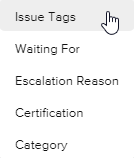
1. From the "Tag Type" dropdown menu, choose the appropriate type for your tag based on its purpose:
- Issue: Selectable items available from the "Tags" dropdown on a Case Edit screen.
- Waiting For: Selectable items available when changing the case status to "Waiting" and selecting a "Waiting Reason".
- Escalation Reason: Selectable items available when escalating a case and selecting the reason for escalation.
- Certification: Shown on a user's profile under Contact Information, selected from the "Certifications" dropdown.
- Category: Selectable items available from the Case Edit screen, appearing in the "Category" dropdown field.
2. In the "Tag" field, enter a name for your tag.
- Step 5: Select Tag Type and Provide Name
Use-Case Example:
Suppose you are a support team manager using the platform to manage customer cases. You want to create a custom tag called "Urgent" to categorize high-priority cases for quick identification. By following the steps outlined in this article, you can easily create the "Urgent" tag under the "Issue" tag type. Once created, the "Urgent" tag will be accessible from the "Tags" dropdown on the Case Edit screen, allowing your team to efficiently prioritize and address urgent cases.
Note: This article assumes familiarity with the platform's user interface and terminology.