Set Up Your Calendar
Sync your Google calendar with CXME.
Last Updated:What's in this article?
Set Up Calendar
Syncing your Google calendar with CXME will allow the Training Scheduler and Remote Activation Scheduler to check your availability. Customers that complete either scheduler will only be allowed to choose times based on openings in your calendar and any other Users on your Team that have their calendars synced. You can set up your calendar by choosing the My Profile option in the Settings view. Let's learn how!
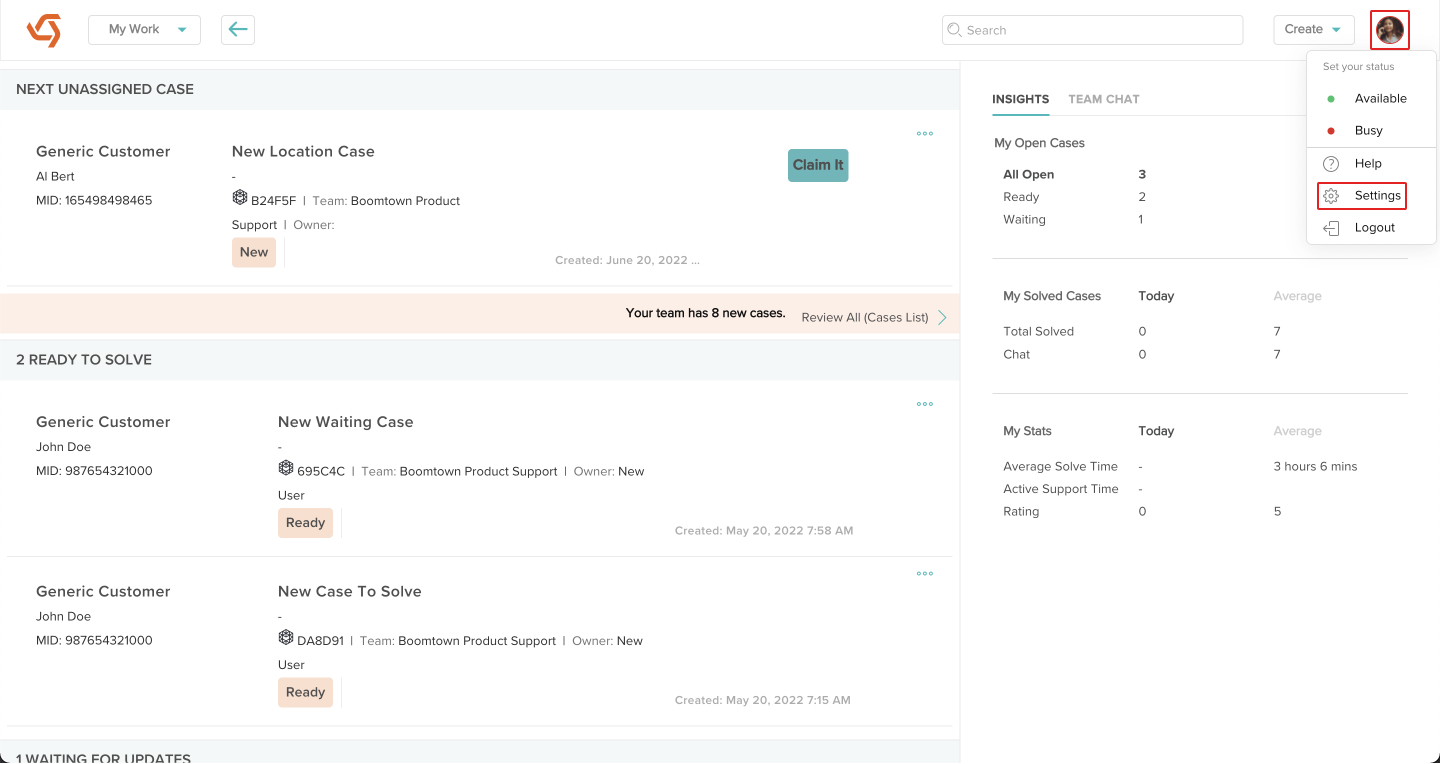
- Click on your avatar at the top right, then click on Settings.
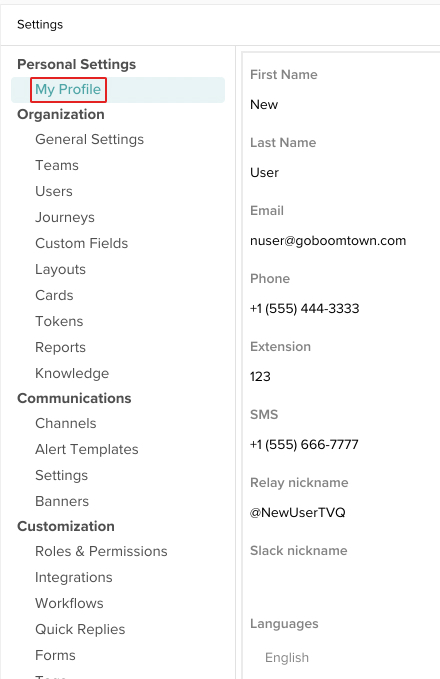
- The Settings view should always default to My Profile but if it doesn't, click on My Profile.
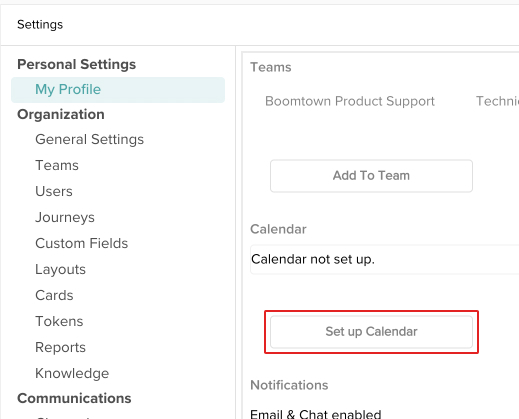
- Scroll down and click the Set Up Calendar button.
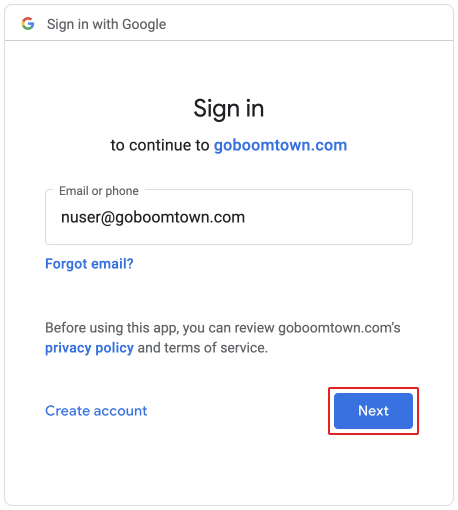
- A new tab or window will open asking you to sign in to your Google account. Enter the email address or phone number associated with your Google account, then click the Next button.
If you are already signed into your Google account, you will simply have to click on your account and will not have to enter an email, phone number, or password.
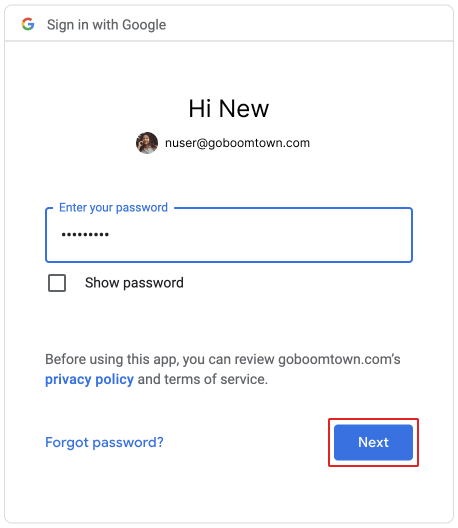
- Enter the password for your Google account, then click the Next button.
- Click the Allow button to give CXME authorization to your Google calendar.

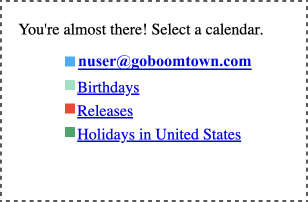
- Click on the calendar you want to sync with CXME.
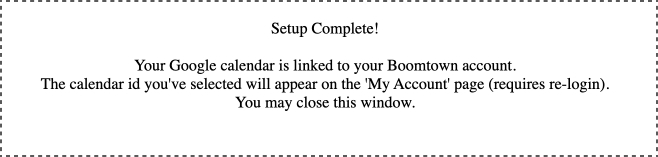
- You will see a message saying the setup has been completed. You can close the tab or window now.
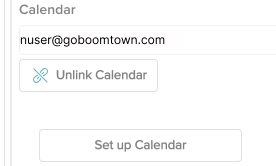
- Your calendar is now synced! When you refresh the page in CXME, you will see the calendar listed. Any time blocked off on your calendar will make you unavailable in any of the schedulers your organization has set up.
You can remove the sync by clicking the Unlink Calendar button, then click on Yes when asked for confirmation.