Set Up Quick Replies
Use premade responses in Cases to reduce repetitive typing.
Last Updated:What's in this article?
Create a Quick Reply
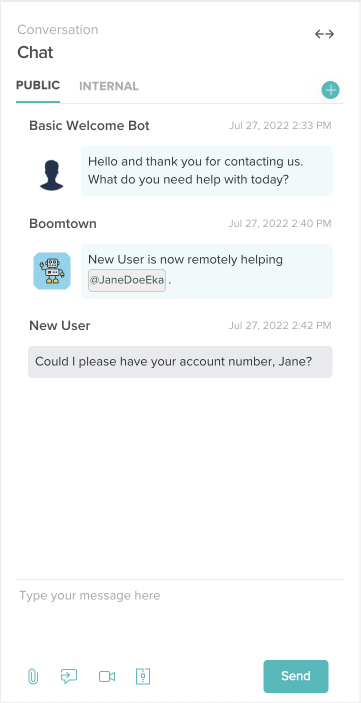
You can create quick replies to replace frequently typed messages sent in the Conversation panel of Cases. Quick replies can be created in the Quick Replies section of the Settings view. Let's learn how!
Your ability to create quick replies depends on your Role & Permissions.
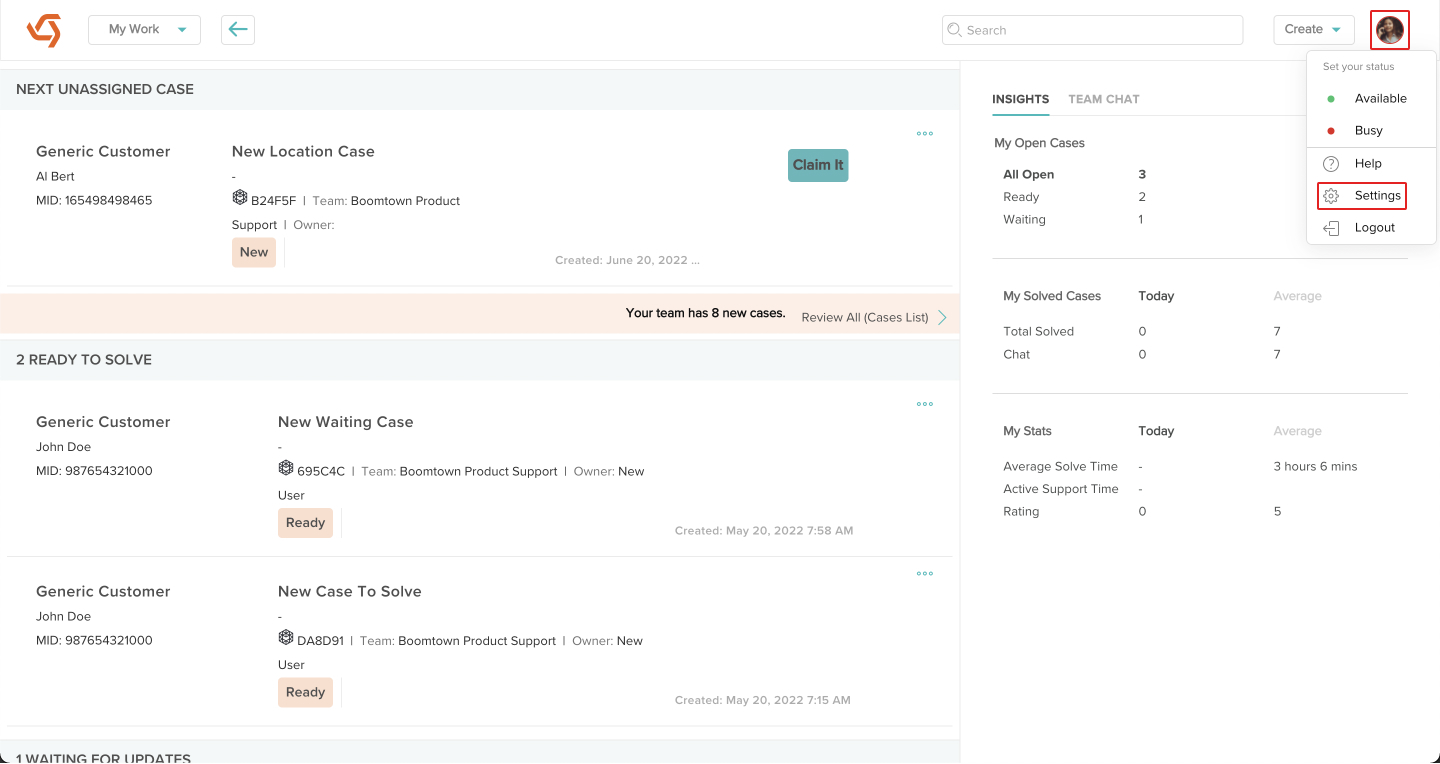
- Click on your avatar at the top right, then click on Settings.
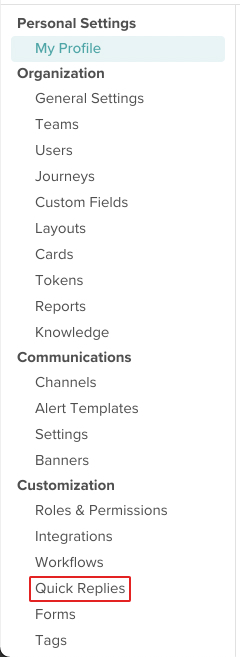
- Click on Quick Replies under Customization.
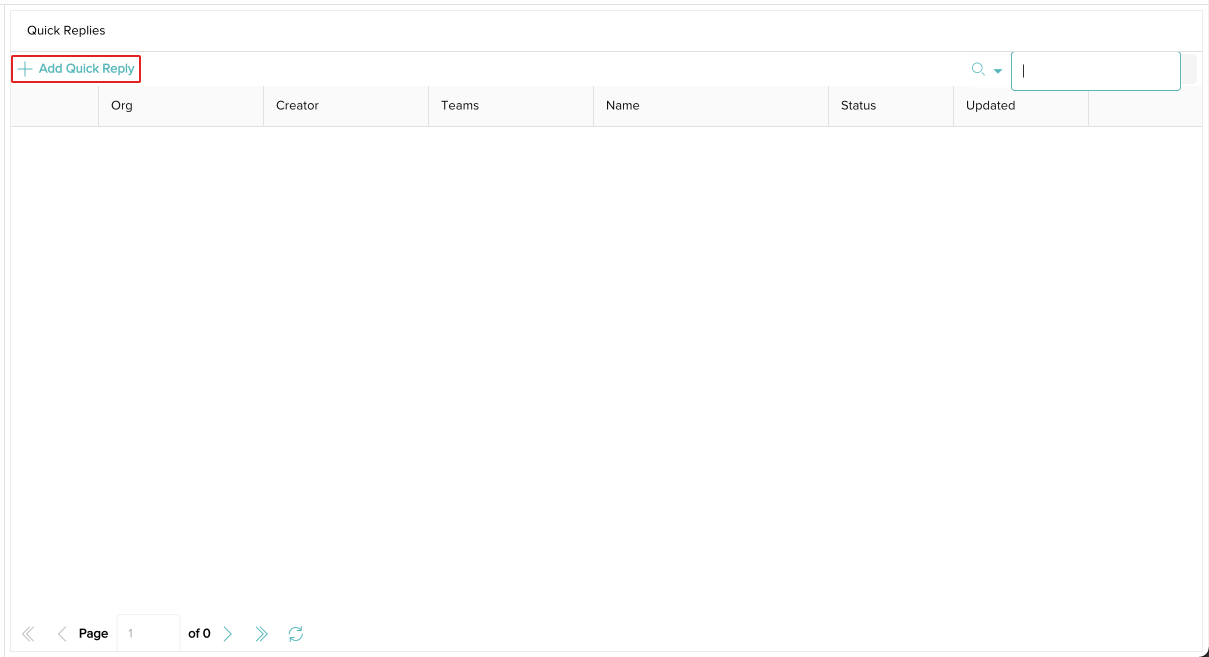
- Click on Add Quick Reply.
- Select the Teams that should have access to this quick reply from the picklist. Leave this field blank if you want the quick reply to be accessible to all Teams in your organization.
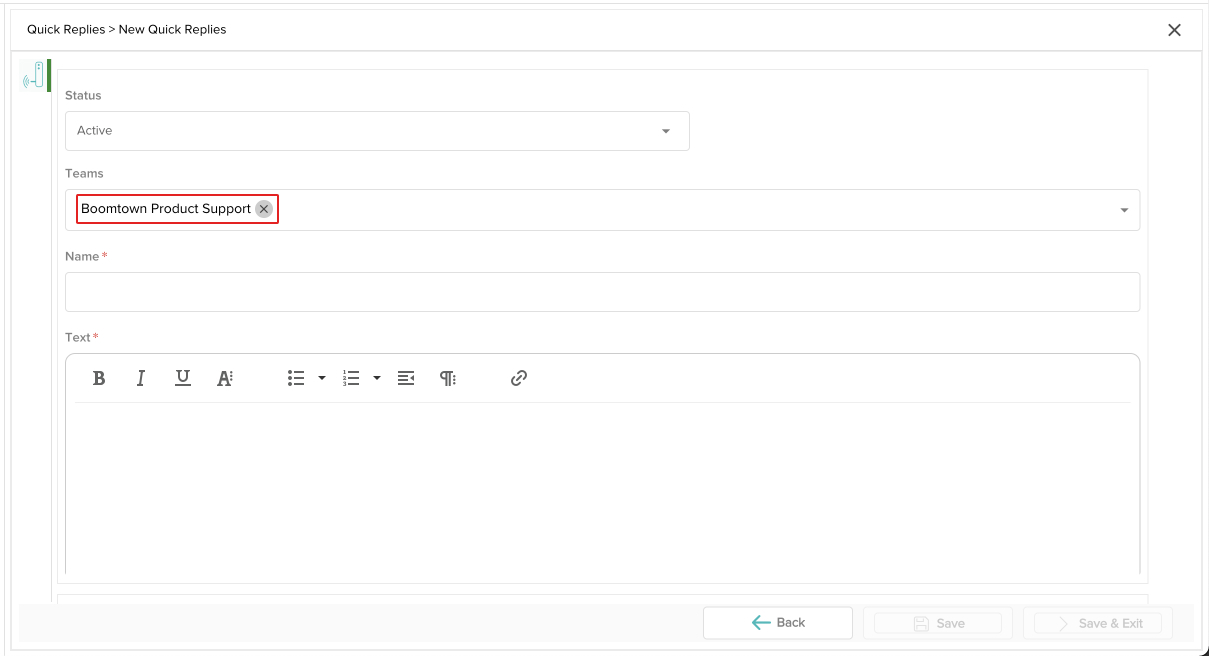
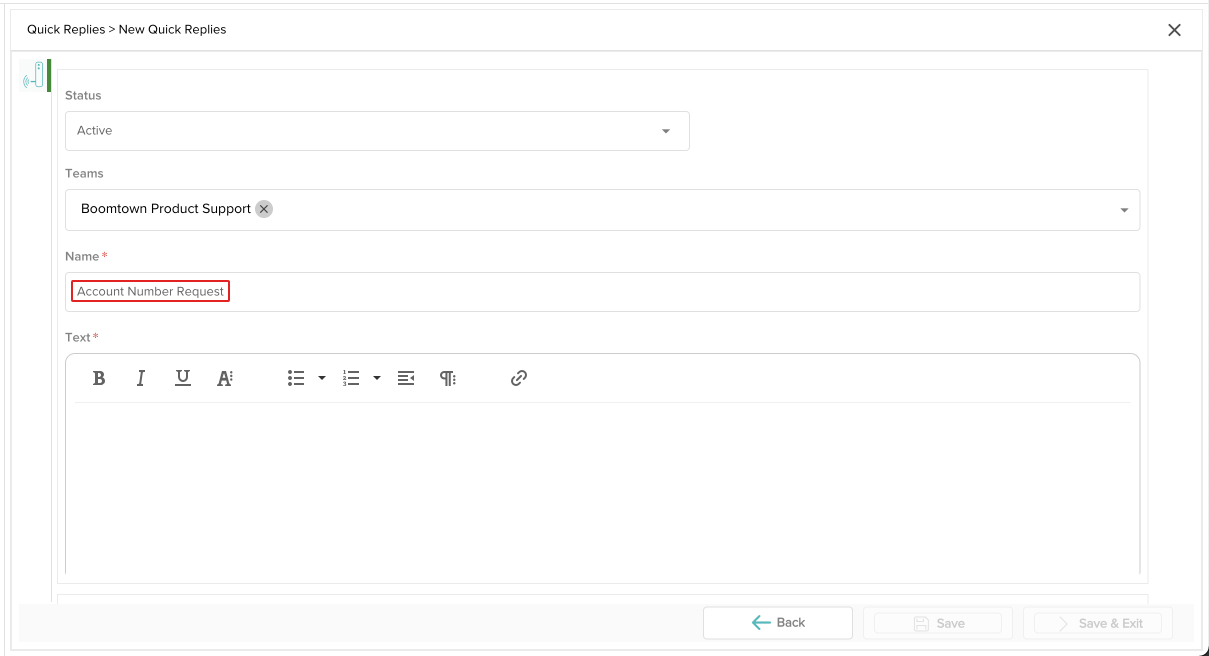
- Give the quick reply a Name. This will be what Users see when they go to select a quick reply.
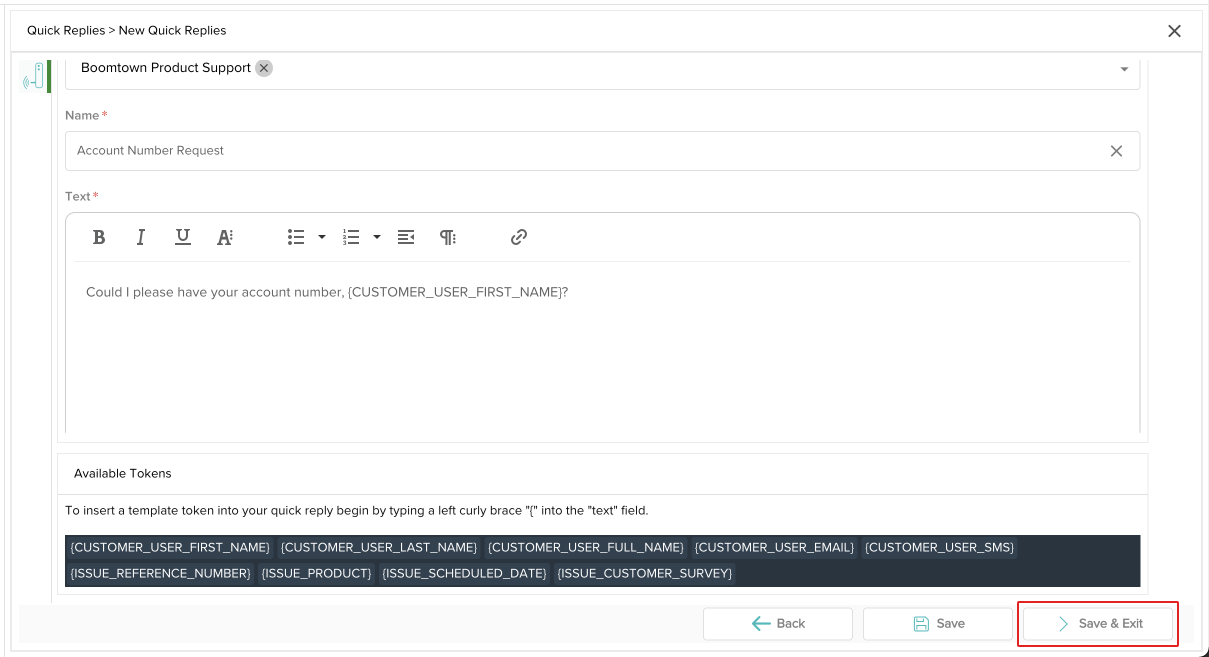
- Add any text you would like in the Text field. You can use the editor options at the top to format your text, add lists, or hyperlinks. You can also type in the tokens at the bottom to automate specific text from your database. When you are done, click Save & Exit.
- Your quick reply has been created! You can update a quick reply by clicking the Edit icon, make a duplicate by clicking the Clone icon, or remove it by clicking the Delete icon.

Send a Quick Reply
Now that you have quick replies created, Users can select and send them in the Conversation panel of the CX Manager. Let's check it out!
- Access the Case you wish to send a quick reply in. You can find Cases using the Site Search bar at the top or the individual search bar in the Cases view.
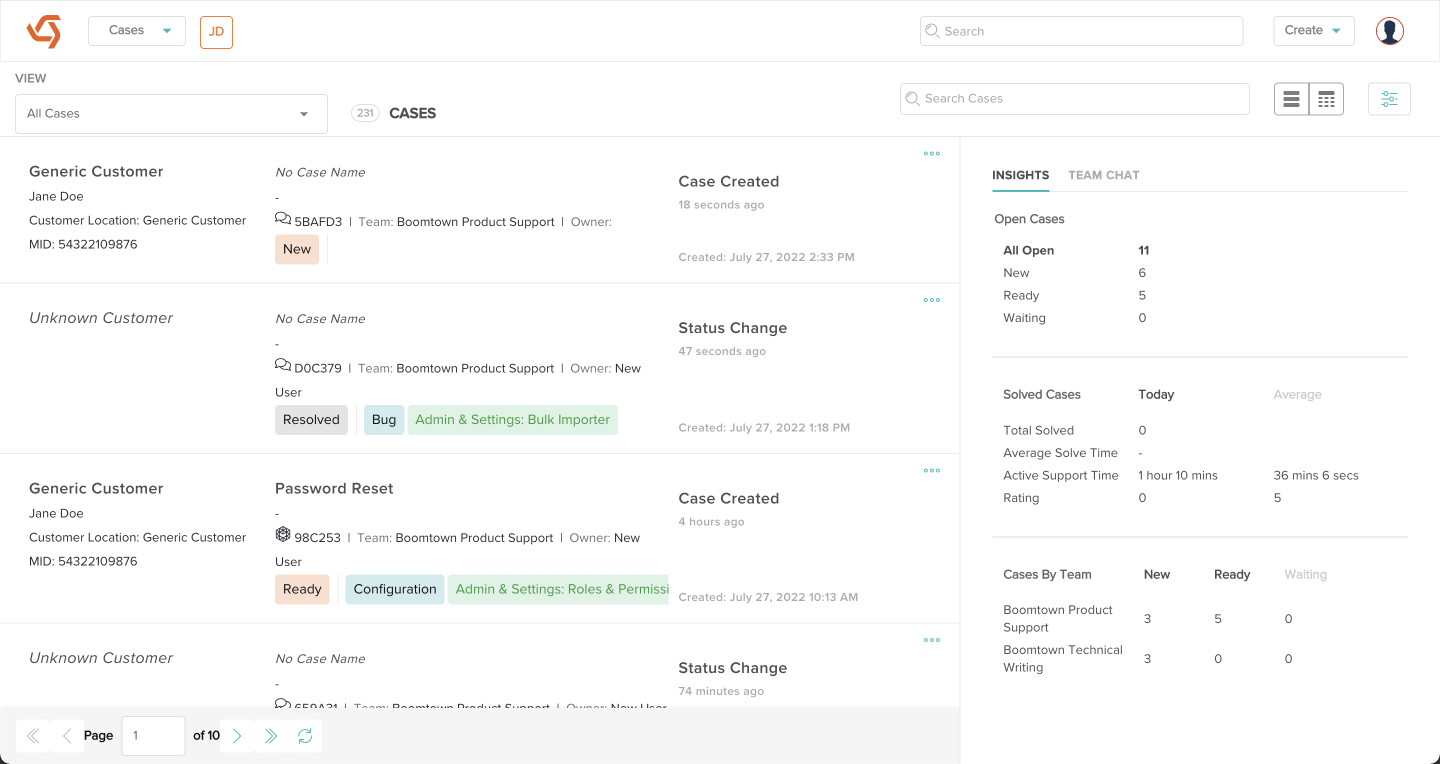
- Click on the Quick Replies icon at the bottom of the Conversation panel.
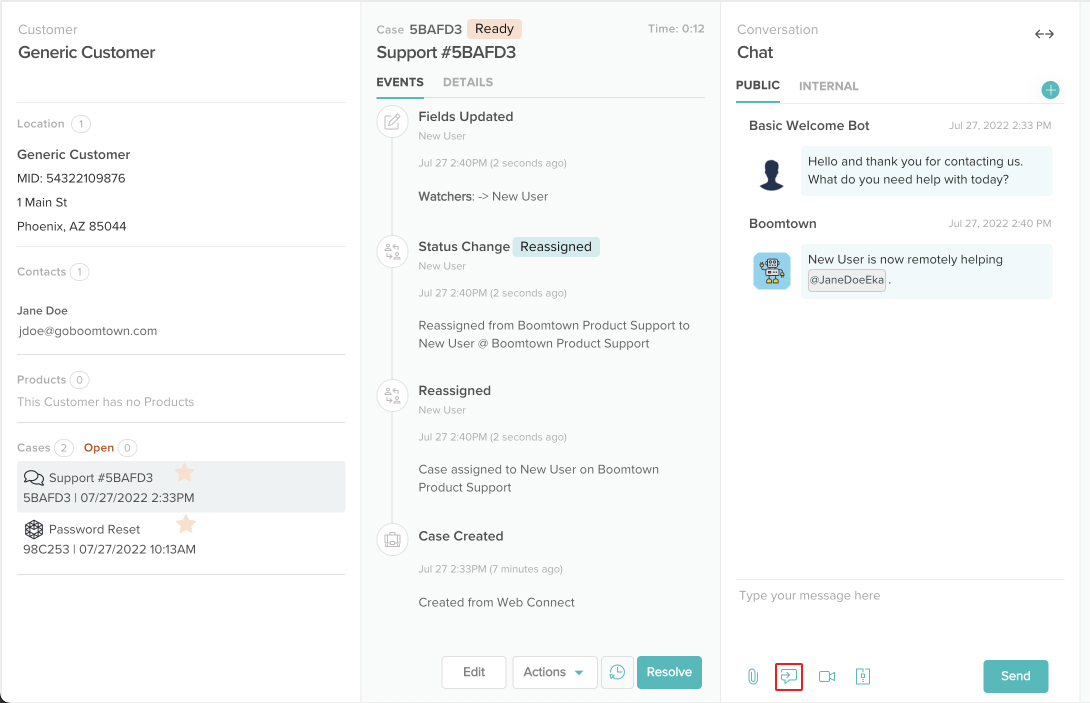
- Select a quick reply from the picklist. Your quick reply should load and you have the option to update it if you wish. When you are ready, click the Send button.
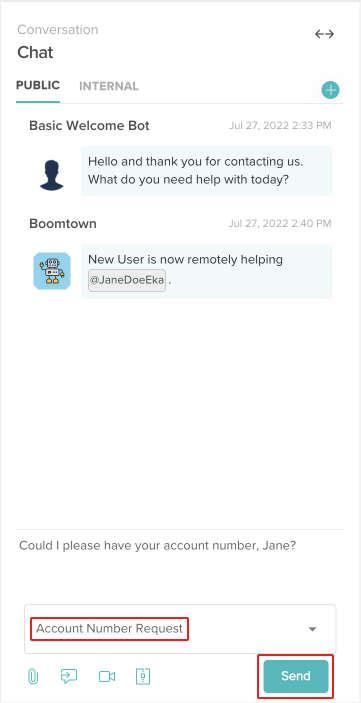
- Your quick reply has been sent! You can hide the picklist by clicking on the Quick Replies icon again.
