Set Up a Seismic Integration
Connect CXME with your existing Seismic account.
Last Updated:What's in this article?
Seismic Integration
Setting up this integration will give Users in your organization access to your Seismic content in the Solutions panel of the CX Manager. Once you have the integration configured, you will be able to access Seismic via the Integrations tab. Let's learn how!
Your ability to set up a Seismic integration depends on your Role & Permissions.
Configure the Seismic Integration in CXME
Creating a new Seismic integration can easily be done in the Integrations section of the settings view. Let's check it out!
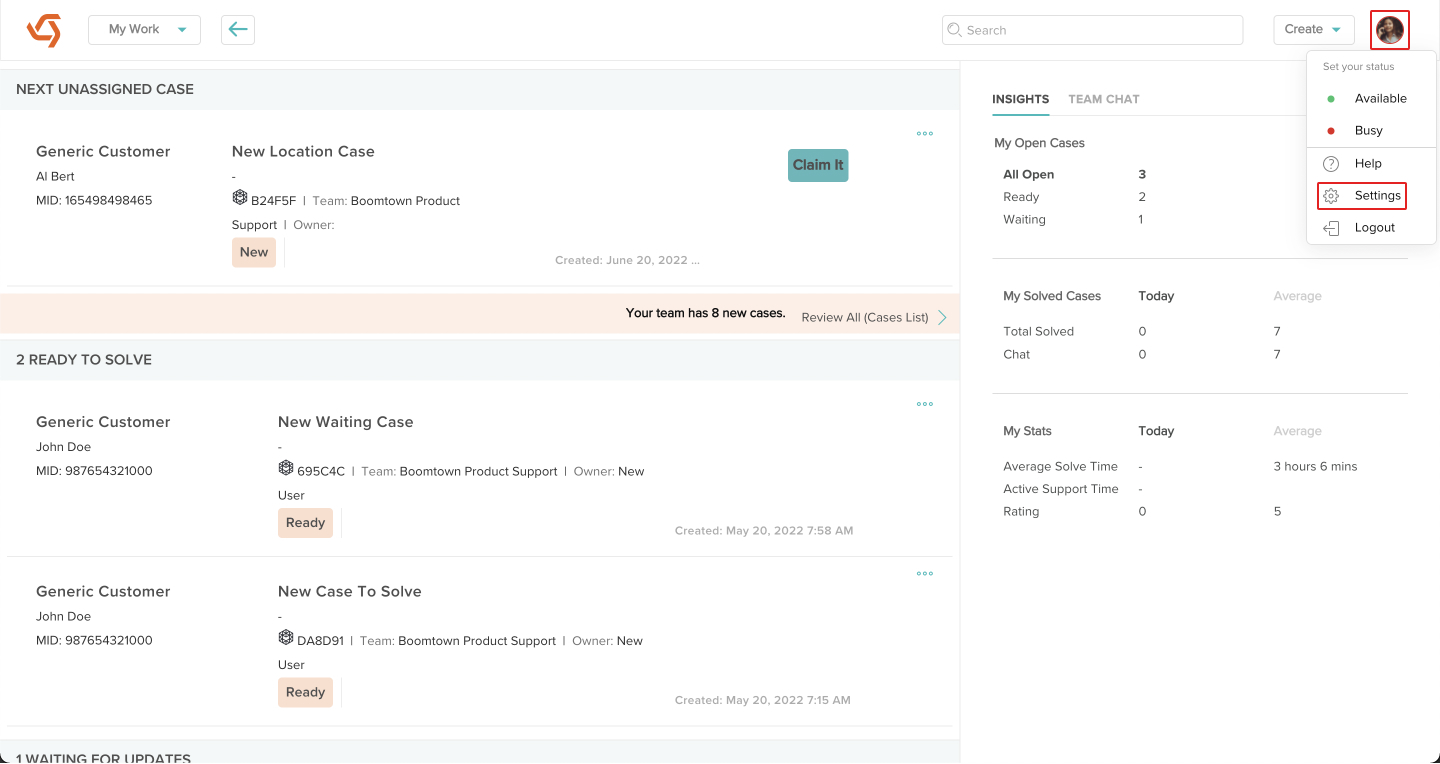
- Click on your avatar at the top right, then click on Settings.
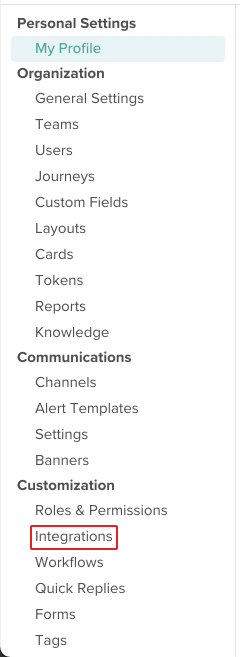
- Click on Integrations under Customization.
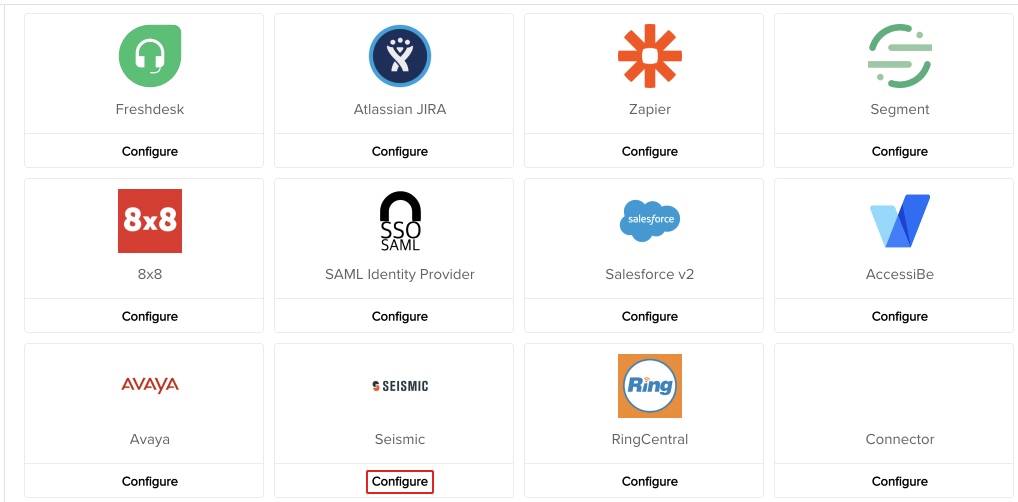
- Click on Configure under the Seismic integration.
- Select a Team. Cases owned by this Team will have access to the Seismic integration.
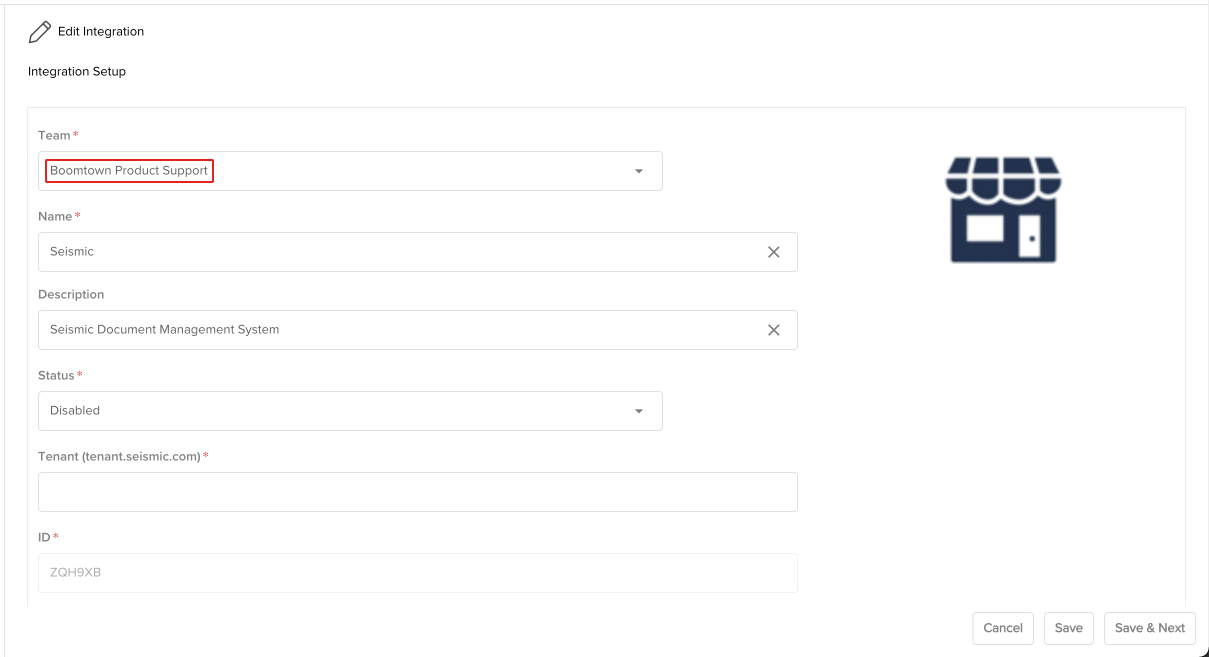
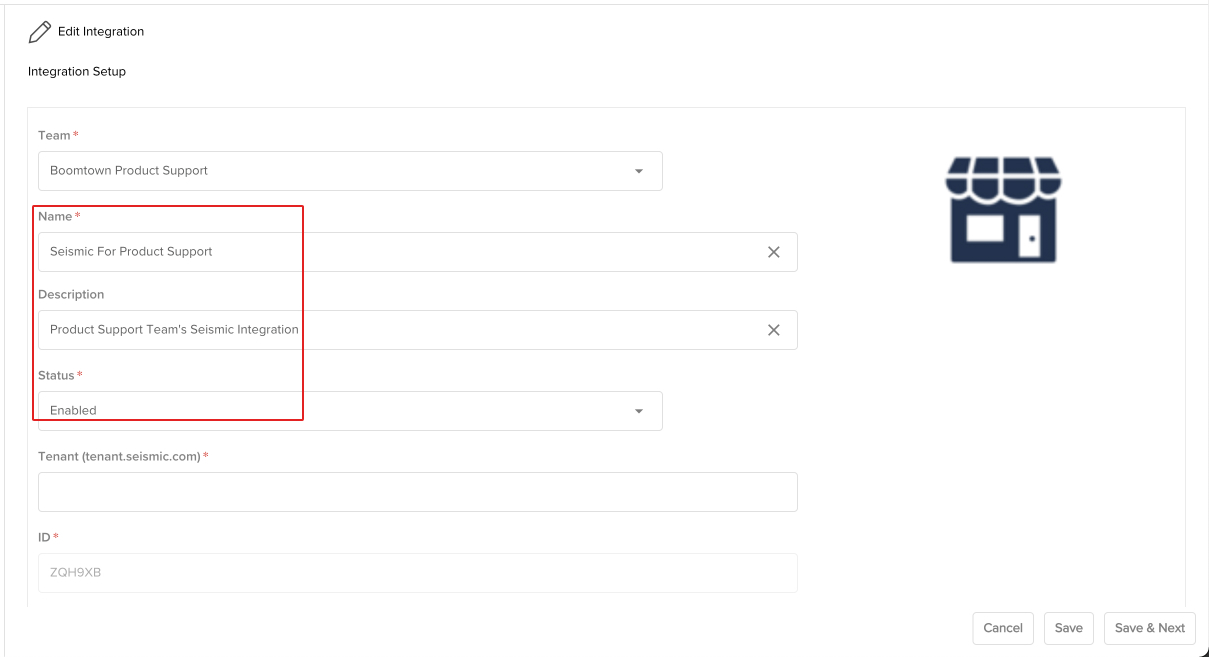
- Give the integration a Name to differentiate it from any others. You can optionally add a Description and set the Status to Enabled if you are ready to use it straight away.
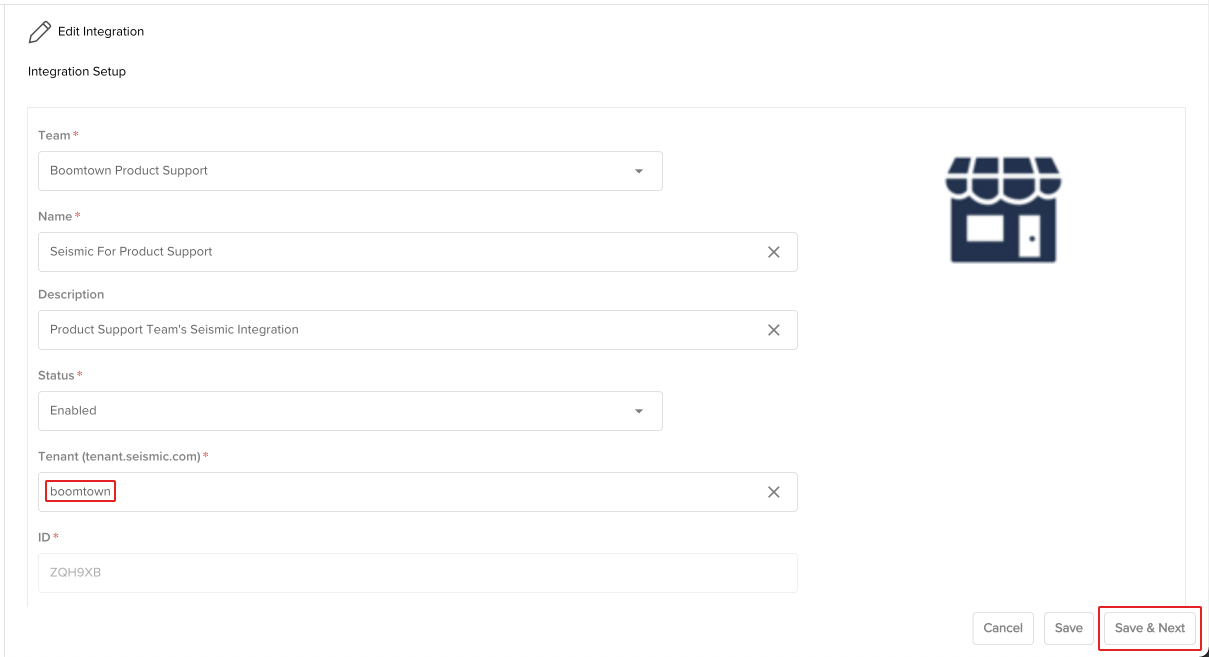
- Enter your Tenant. This can be found in the URL (Uniform Resource Locator) you use to log into Seismic. (e.g. If you log into https://boomtown.seismic.com/, your tenant would be boomtown.) When you are done, click the Save & Next button.
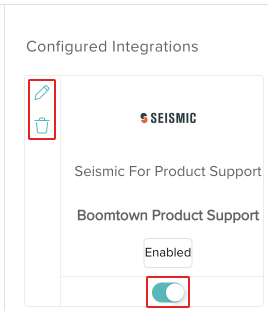
- Your Seismic integration has been created! You can update the integration by clicking on the Edit icon or delete it by clicking on the Delete icon. You can also quickly enable or disable the integration using the toggle switch.
Accessing Seismic
Now that you have the Seismic integration configured, you can access the integration from the Solutions panel in a Case. Each User will need to initially connect their account in order to start using the integration. Let's check it out!
Users will need Seismic login credentials to connect to Seismic in the CX Manager.
- Access the Cases view and click on any Case owned by the Team you selected in the integration.
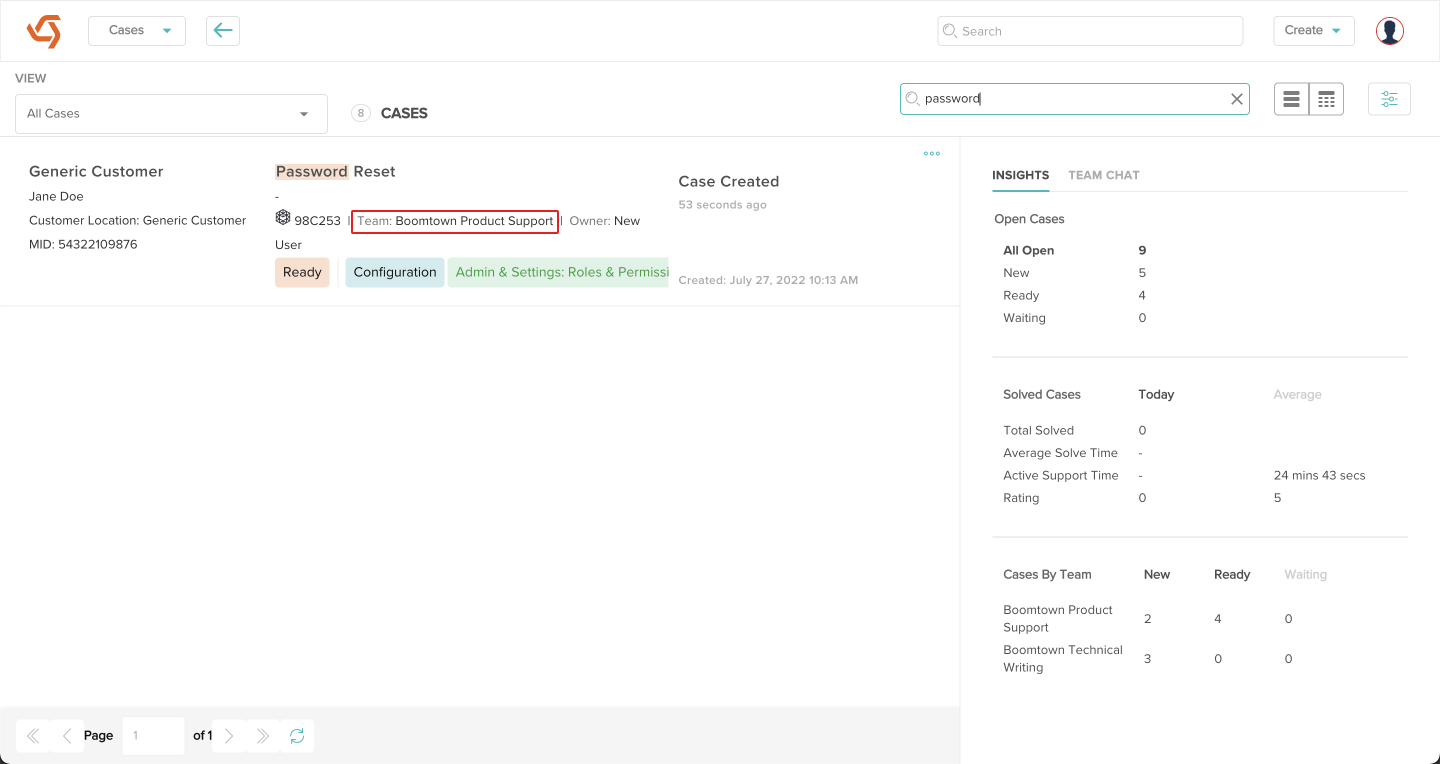
- Click on the Integrations tab in the Solutions panel.
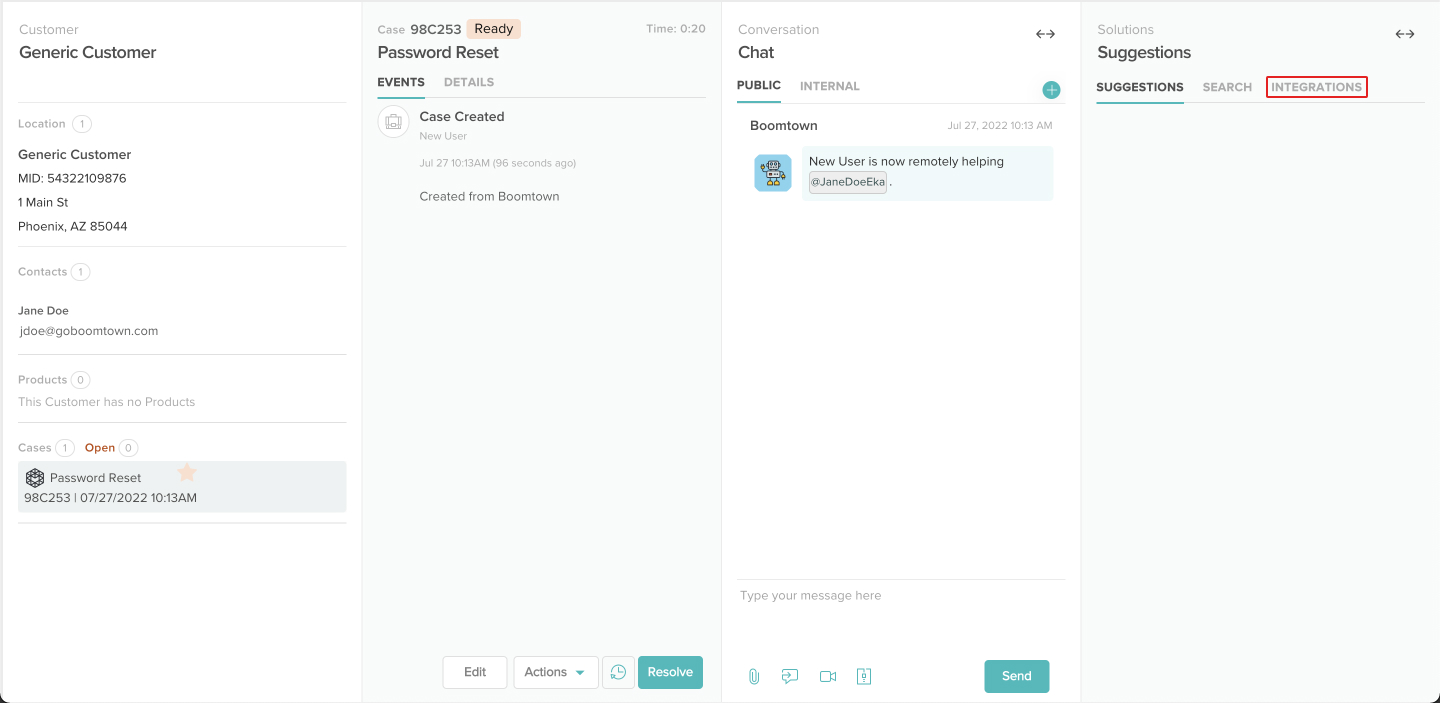
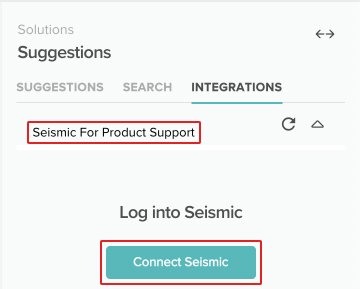
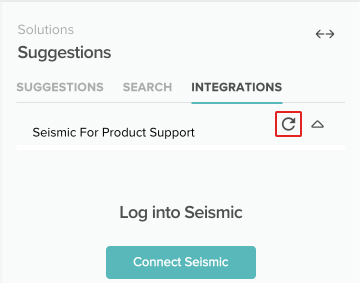
- Click on the Seismic integration, then click the Connect Seismic button.
Users will need to connect to Seismic anytime they clear their cache. Otherwise, it will stay connected.
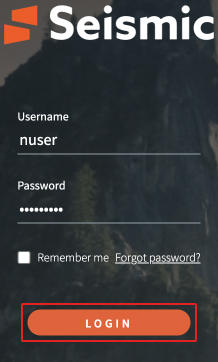
- A new tab or window will pop up asking you to log in to Seismic. Enter the Username and Password you use to log into Seismic, then click the Login button.
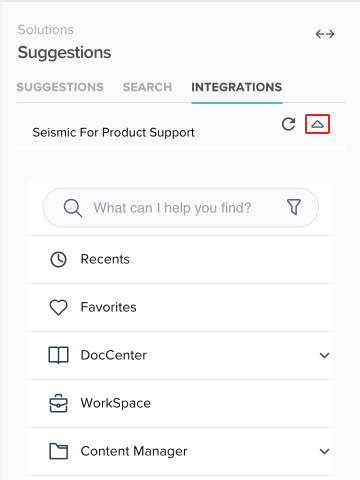
- You should receive a message saying the login was successful. You can close that tab or window, then click the Refresh icon next to the Seismic integration.
- You now have access to Seismic! The integration can be collapsed and expanded using the Collapse icon.