Additional results may be available to logged in users.
Make sure all words are spelled correctly.
Try different keywords.
Try more general keywords.
Try fewer keywords.
Set Up a Library
Create and customize a Knowledge library.
Last Updated:July 12, 2022
What's in this article?
Create a Library
A library is a collection of articles. You can create multiple libraries to organize specific articles together. Each library can be individually customized. You can create new libraries in the Knowledge section of the Settings view. Let's learn how!
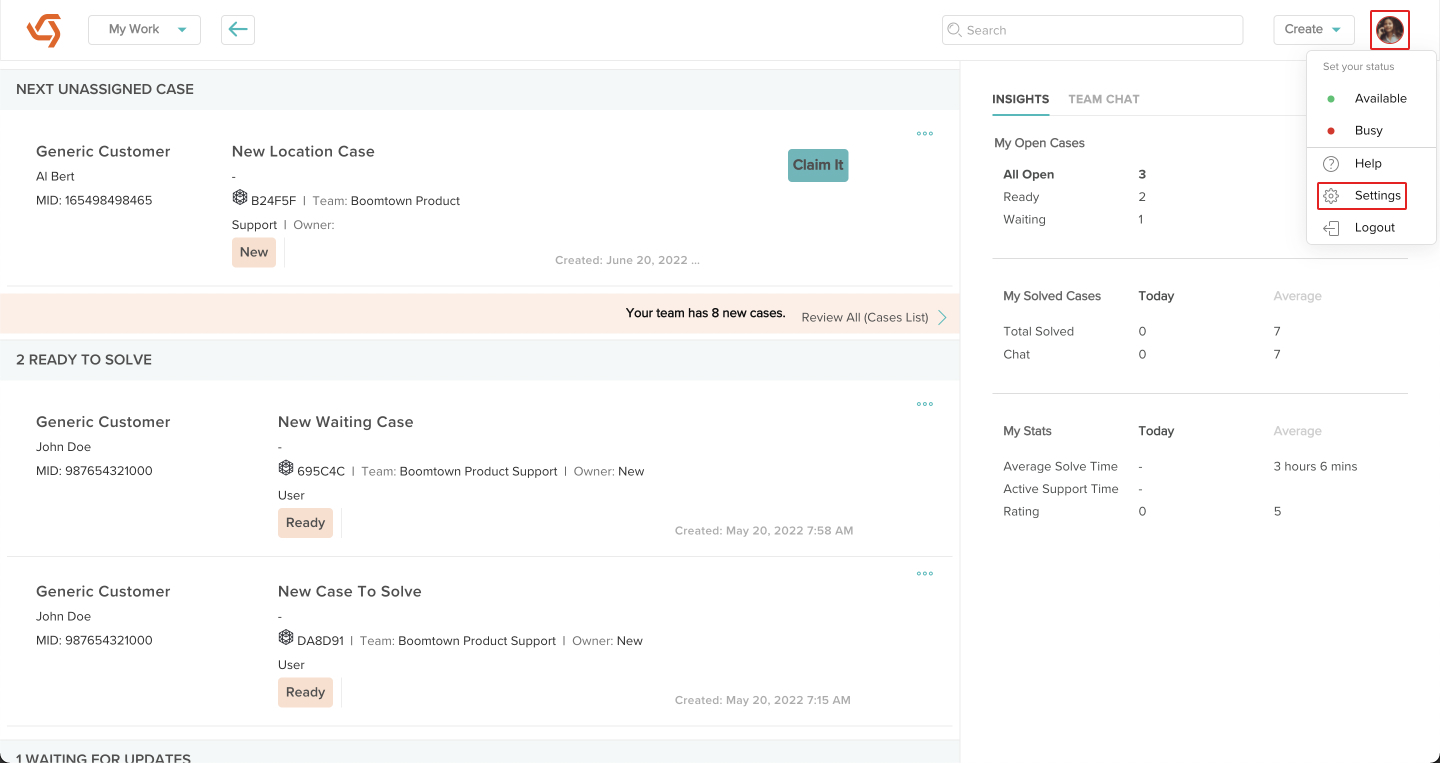
Click on your avatar at the top right, then click on Settings.
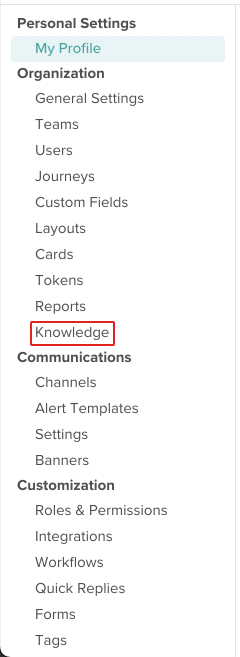
Click on Knowledge under Organization.
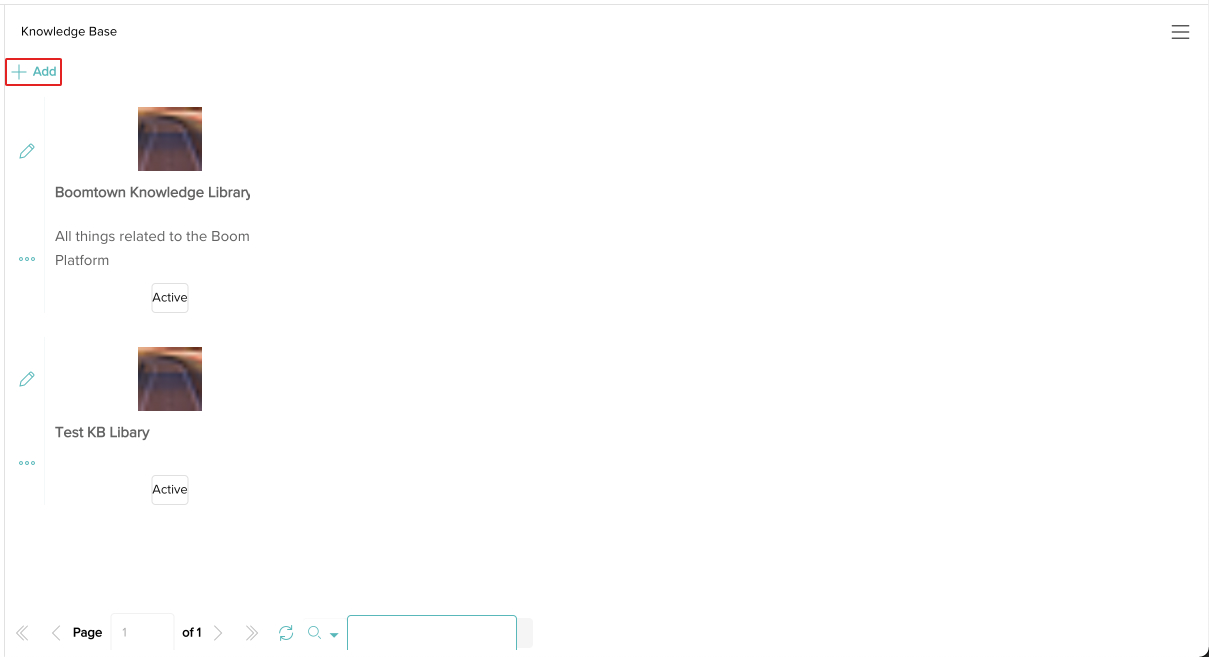
Click on Add.
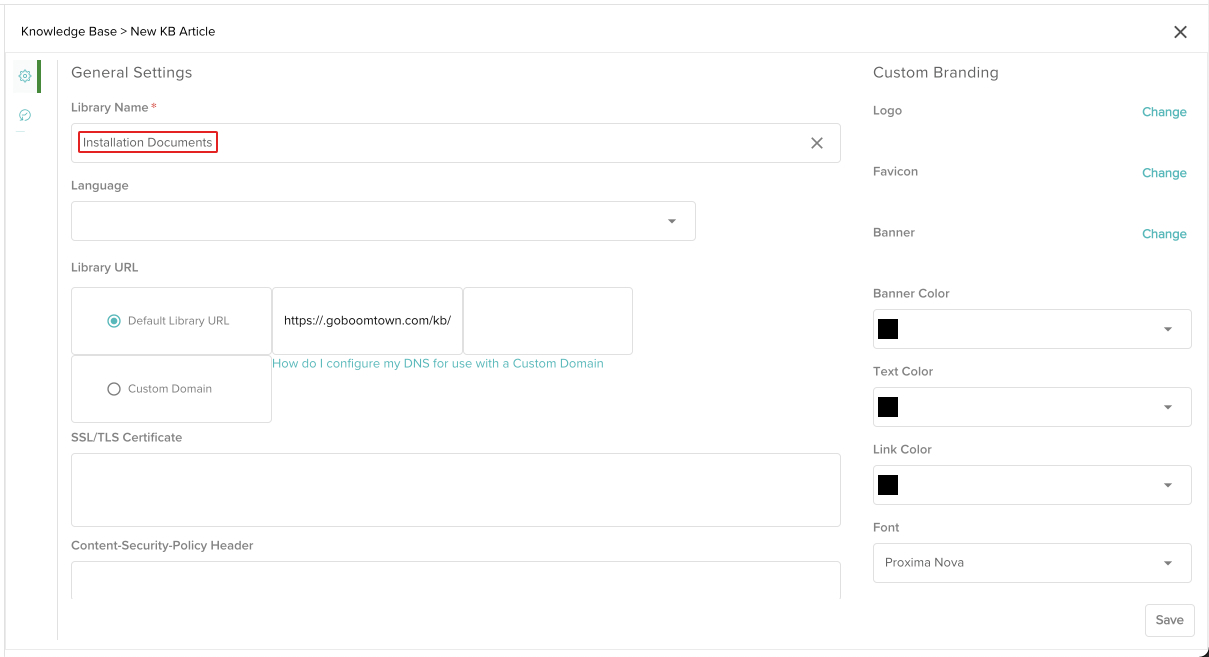
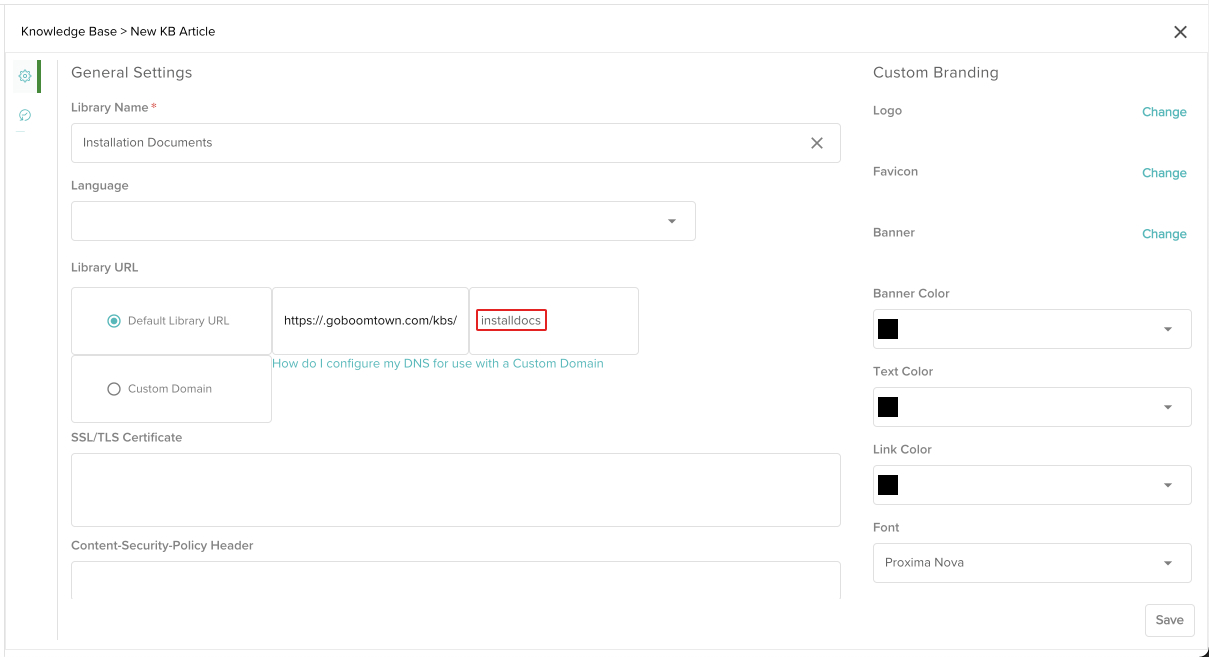
Give your new library a name. This will be what Users select in the Knowledge view.
Required fields will have a red asterisk next to them. You will not be able to save the library until they are completed.
Type in an extension for the library URL (Uniform Resource Locator). This will be the direct link to your external library and will differentiate it from other libraries. You can also choose to use a custom domain for your library.
Spaces or unsupported characters will automatically be replaced by an underscore (_). If you try to use the same URL of an existing library, you will receive an error message.
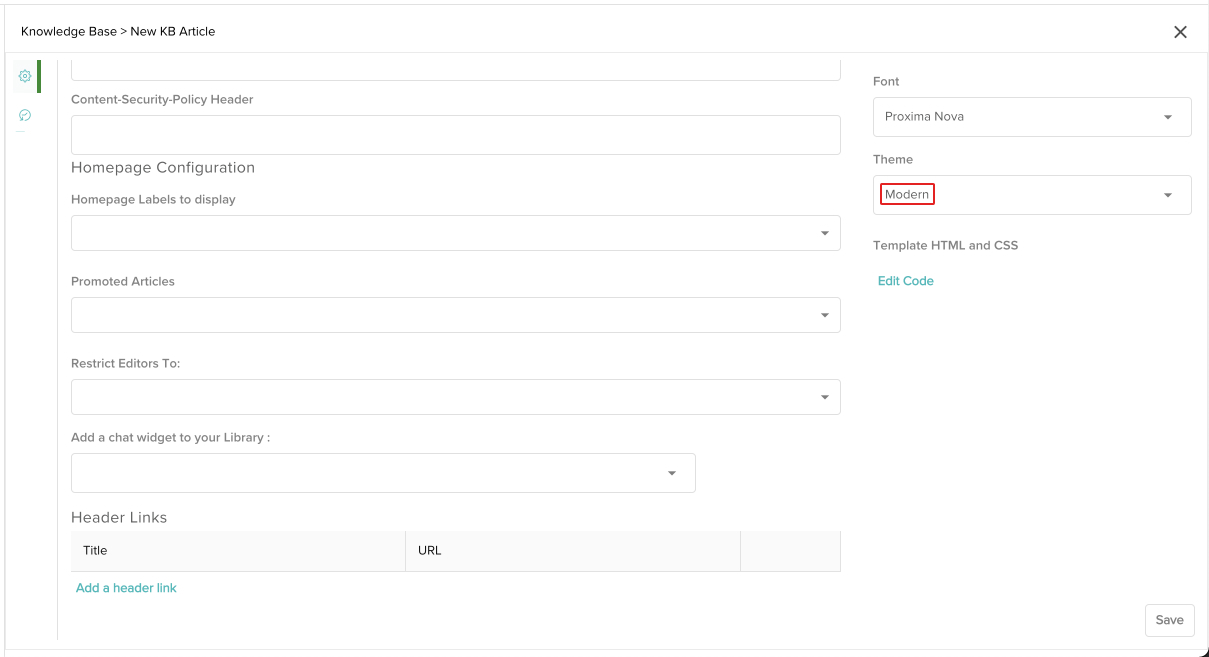
Scroll down and change the theme to Modern.
Default theme is being discontinued.
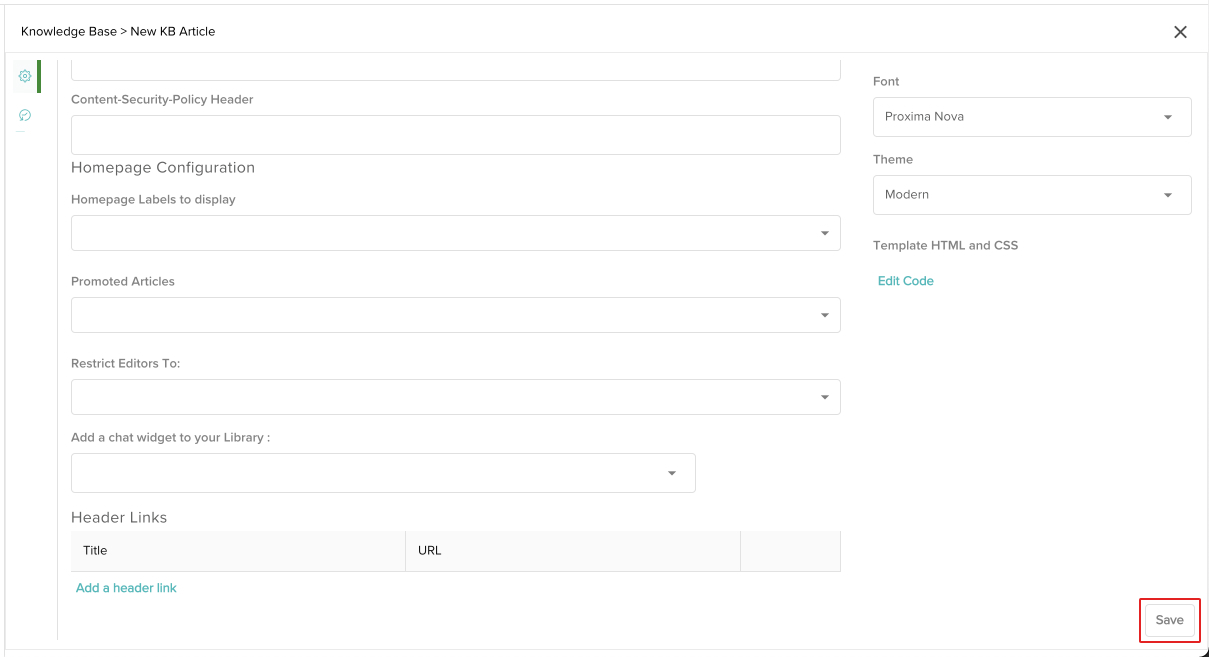
Update any of the other fields. When you are done, click Save.
Here is a list of all of the available fields and their functions:
Language - The language you select will aid in searching and results.
SSL/TLS Certificate - If you choose to use a custom domain for this library, you can enter the SSL (Secure Sockets Layer) or TSL (Transport Layer Security) certificate in this field so the Boomtown servers will serve secure pages based on your organization's TLD (Top-level Domain). You can learn more about SSL/TSL here.
Content-Security-Policy Header - Updating this field enables organization administrators to enforce security and compliance that aligns with their organizational needs. Adjusting this value may prevent the library from operating inside chats or the CX Manager. The default value is frame-ancestors * and you can learn more about CSP here.
Homepage Labels to Display - Once you create labels in your new library, you can choose specific ones to show up on your library homepage.
Promoted Articles - Once you have published articles in your new library, you can choose them to show up as links at the bottom of your library homepage in a Promoted Articles section.
Restrict Editors To - You can give article editing access to specific Users in your organization. Anyone not listed will not be able to edit articles regardless of their Role & Permissions. Leaving this field blank will give editing access to any Users that have that specific Role & Permissions.
Add a Chat Widget to Your Library - If your organization has a Web Connect channel set up, it can be added to the external library.
Add a Header Link - Click to add hypertext links to the top right of your external library.
Add a Section - Divide your homepage up into separate sections and select specific labels to be displayed in each section. Adding sections will overwrite Homepage Labels to Display.
Logo - This will be used as the home button icon that appears in the top left of the external library. Clicking on it will return users to the library homepage. It is recommended to use a 150 pixel wide by 45 pixel high PNG file.
Favicon - This is the icon that appears in the browser tab open to your external library. It is recommended to use a 32x32 pixel PNG file.
Banner & Banner Color - These only apply to Default theme which is being discontinued.
Text Color - Change the default color of regular text in your external library.
Link Color - Change the default color of hypertext links in your external library.
Font - Choose from a variety of default font options.
Edit Code - Make adjustments to specific HTML (HyperText Markup Language) templates and CSS (Cascading Style Sheets) to change the look and styling of your external library.
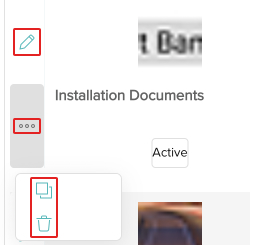
Your new library has been created! You can update the library by clicking on the Edit icon next to it. You can also clone or delete the library by clicking on the three dot menu, then clicking on the Clone or Delete icons.