Set Up a Journey
Create Journeys to track the stages of a Case.
Last Updated:What's in this article?
Create a New Journey
Journeys can be created and added to Cases to help keep track of the Case's lifecycle. Each Journey is made up of stages that Users need to complete. Journeys can be created in the Journeys section of the Settings view. Let's learn how!
Your ability to create new Journeys depends on your Role & Permissions.
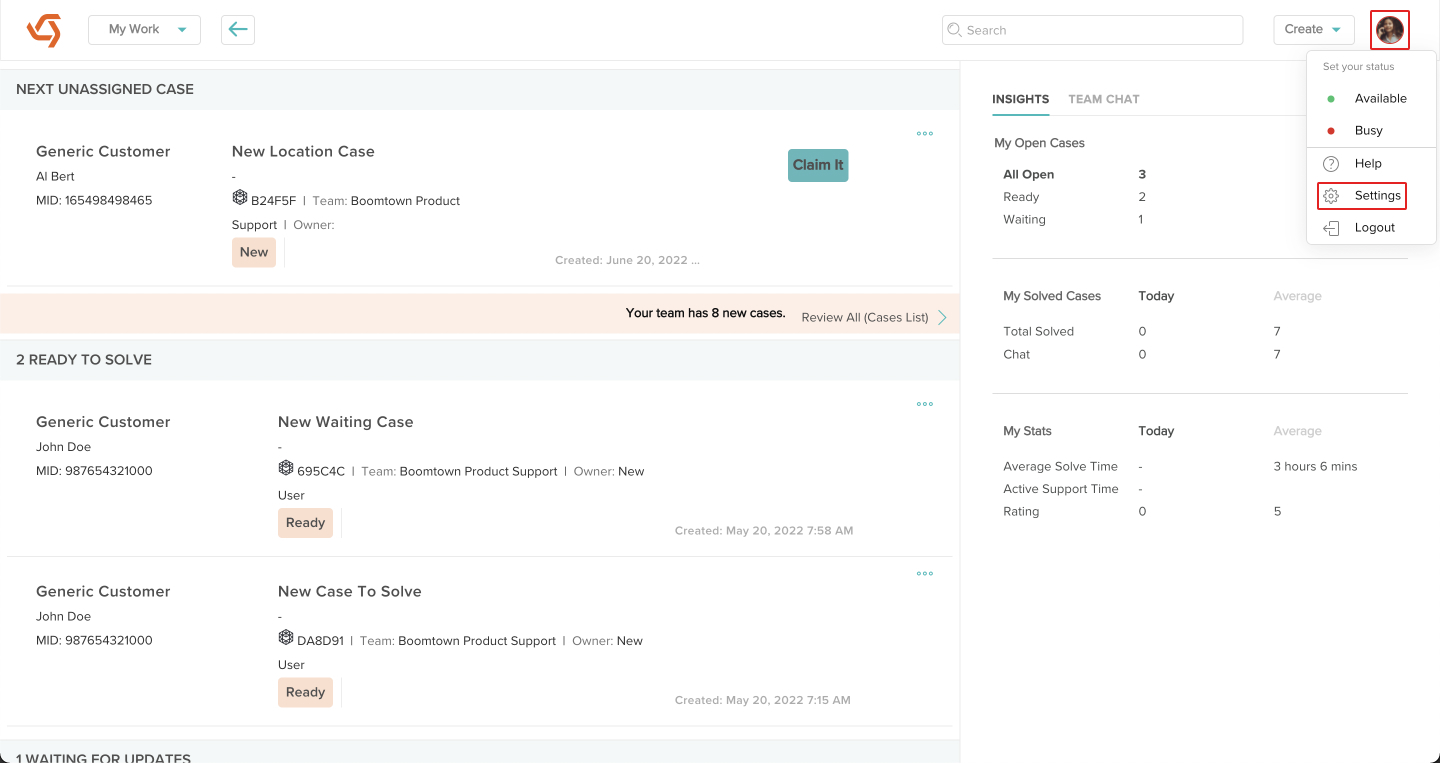
- Click on your avatar at the top right, then click on Settings.
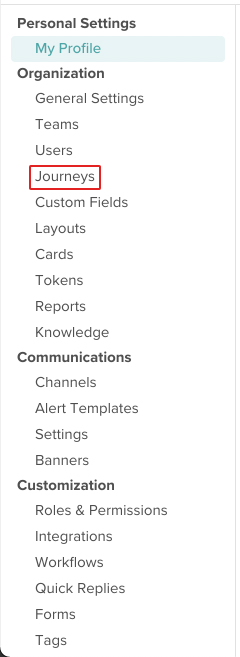
- Click on Journeys under Organization.
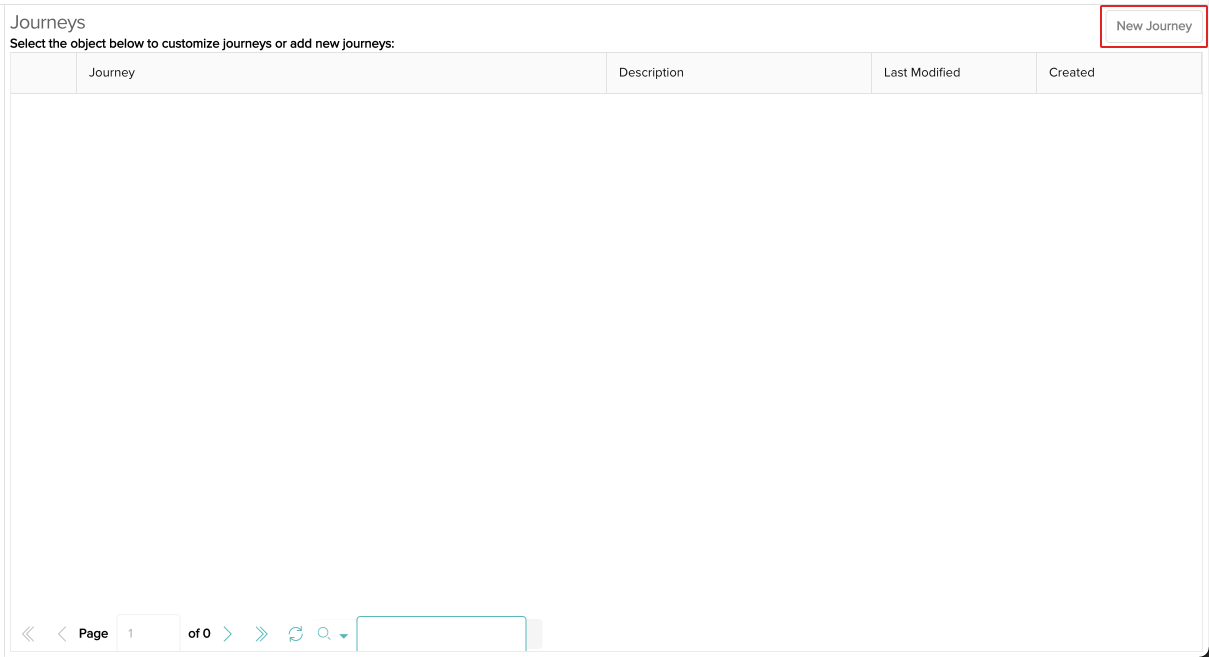
- Click the New Journey button.
- Give your Journey a name. This will be what Users select when they want to add a Journey to a Case. You can also optionally add a description of the Journey. Add stages to your Journey by double clicking on New.
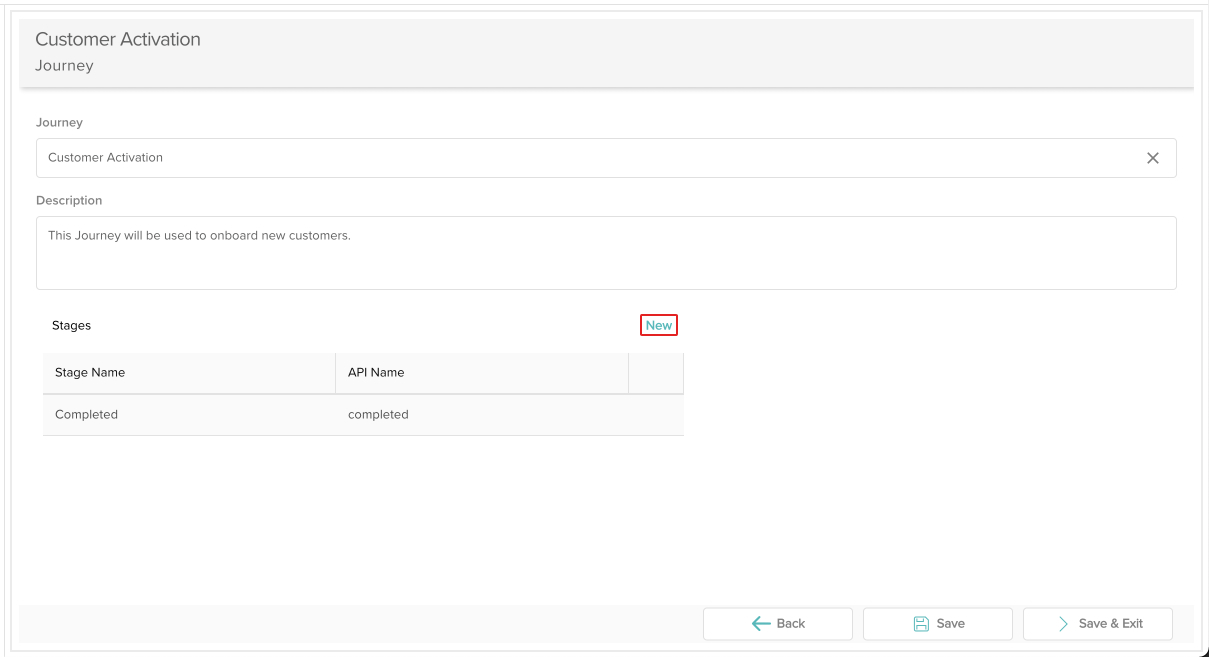
- Double-click in the field under Stage Name and type in whatever you want to describe this particular stage in the Journey.

- You can add more stages by clicking New. You can also edit the API name by double-clicking in the field below it or remove stages entirely by clicking on the Delete icon next to it.
The API name can be used to cycle through the Journey via an external API (Application Programming Interface) integration.

- You can rearrange the stages by dragging and dropping them.
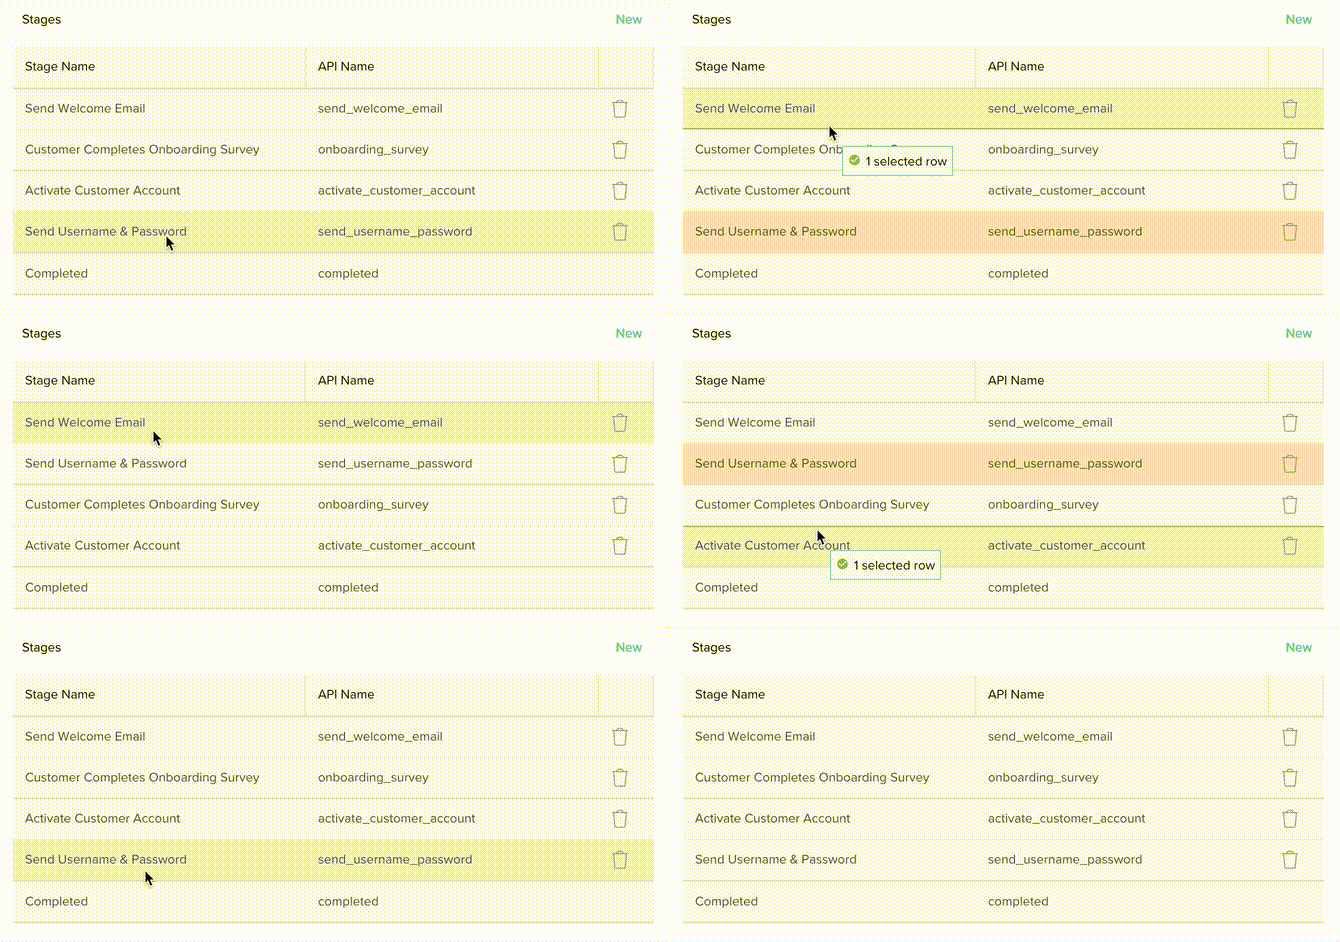
- When you are done, click the Save & Exit button.
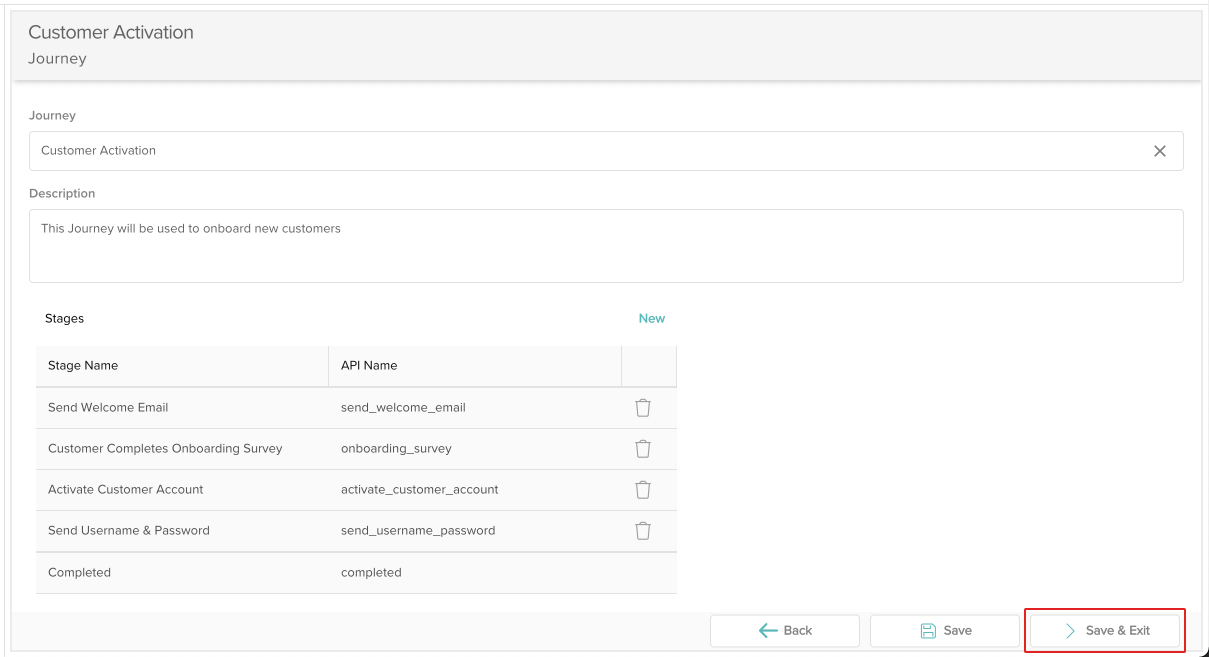
- Your new Journey has been created and can be added to Cases! You can edit or delete the journey by clicking on the appropriate icons next to it in the Journey list.

