Create a Custom Field
Use custom fields to gather specific data.
Last Updated:What's in this article?
Custom Fields
The CX Manager comes with several default fields to capture data about your Customers and Cases. You can create custom fields that can be added to different layouts in order to record unique info. You can easily create new custom fields in the Custom Fields section of the Settings view. Let's learn how!
Your ability to create custom fields depends on your Role & Permissions.
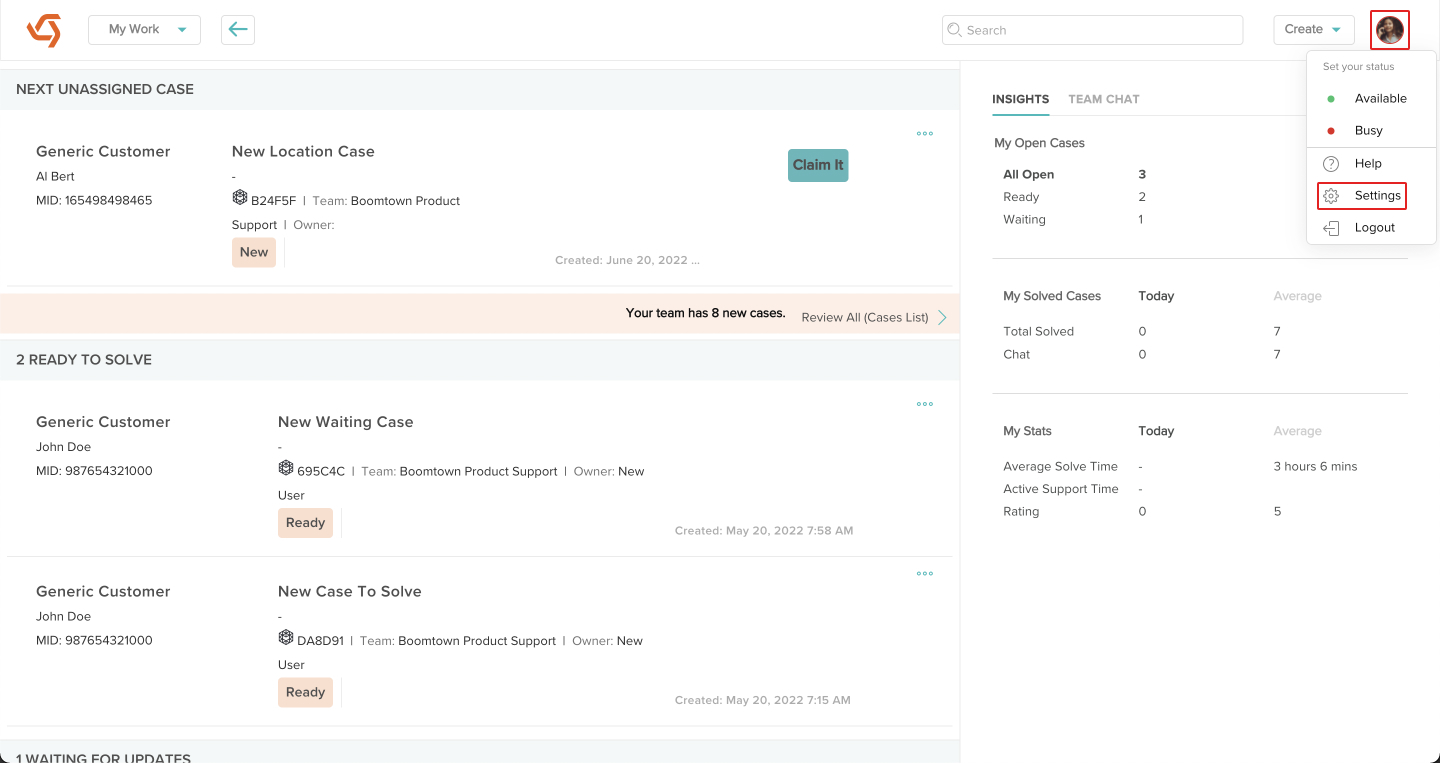
- Click on your avatar at the top right, then click on Settings.
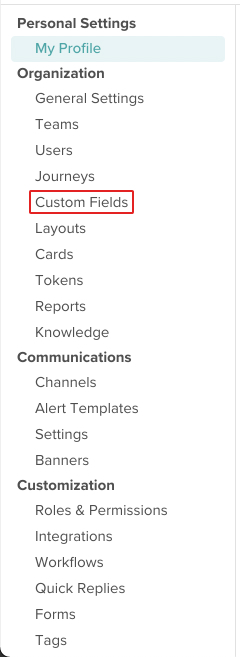
- Click on Custom Fields under Organization.
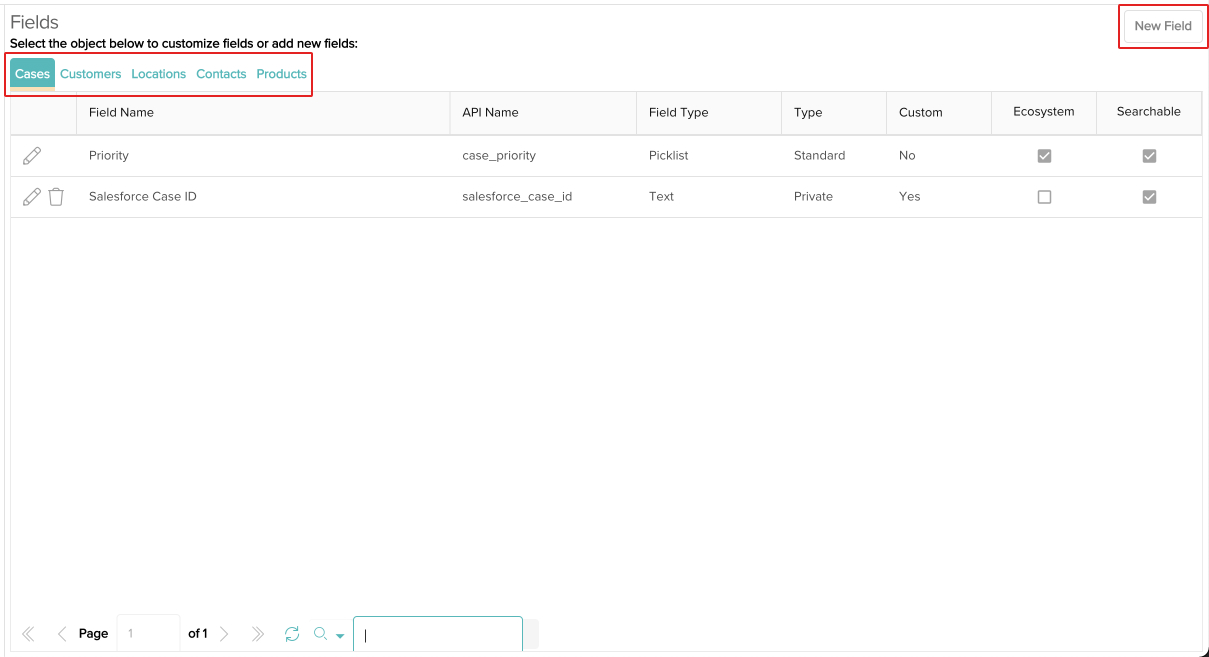
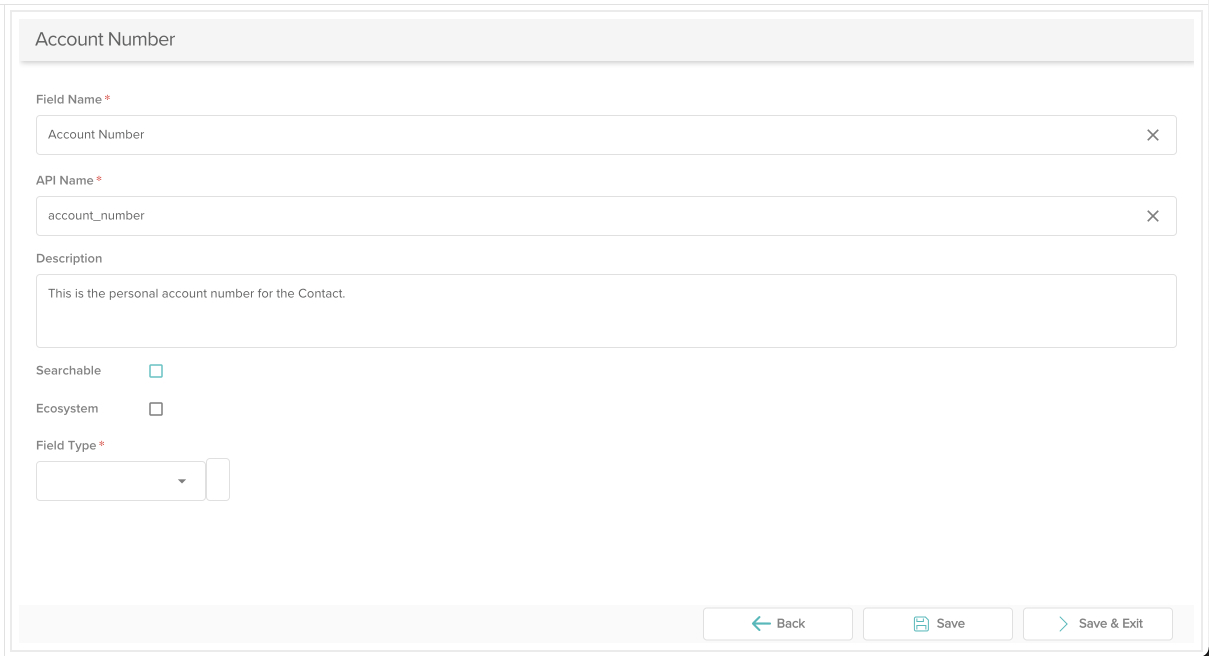
- Click on the appropriate tab at the top depending on where you want this field to appear, then click the New Field button.
- Give the field a name. This will let Users know what to enter in the field. You can also optionally update the API name and give the field a description.
The API name can be used to populate the field via an external API (Application Programming Interface) integration.
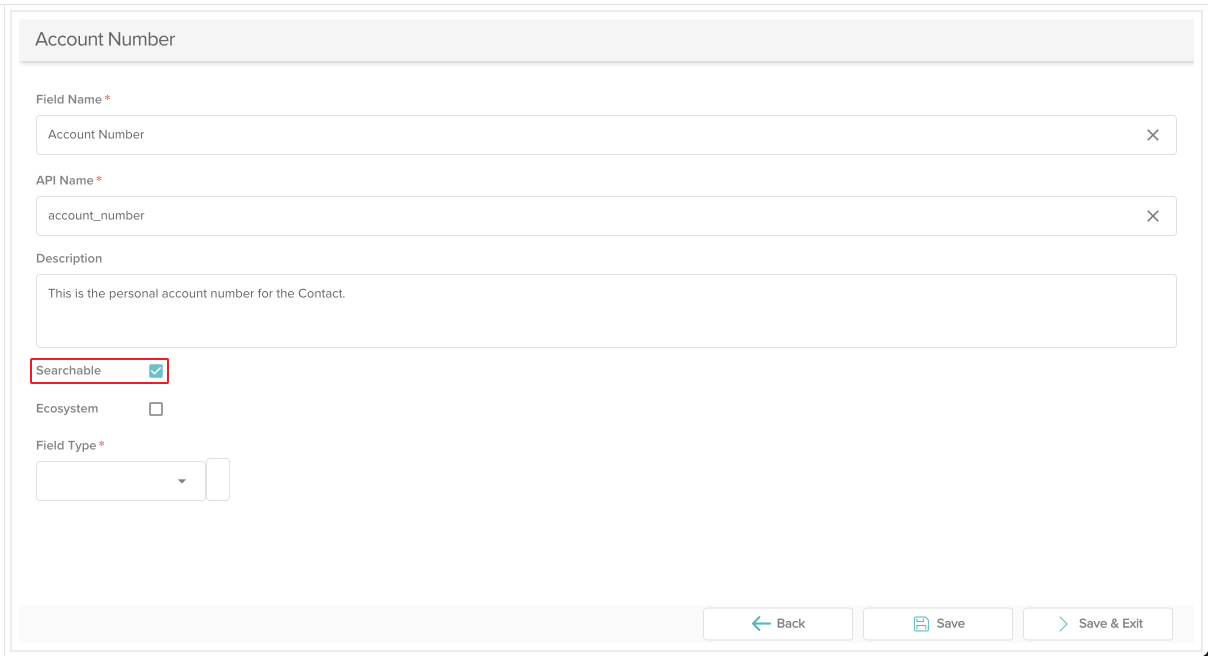
- Check the box next to Searchable if you want Users to be able to search for the data that gets entered into the field.
Not all field types are searchable.
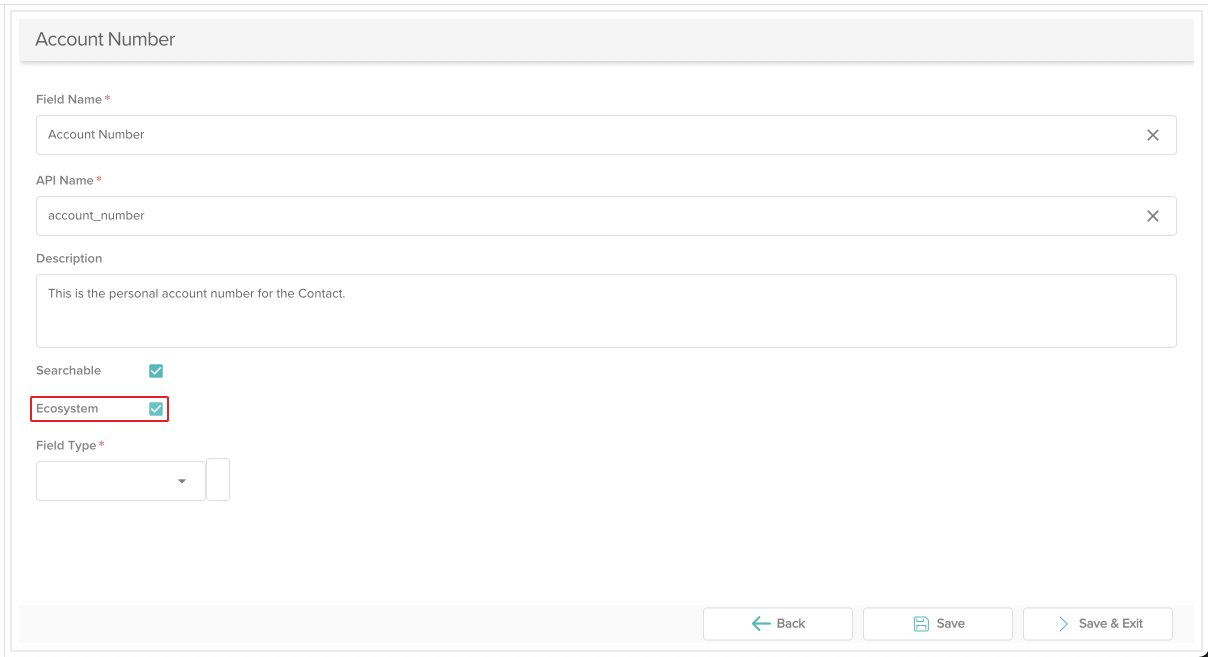
- Check the box next to Ecosystem if you want the field to also be accessible to Users in your org ecosystem.
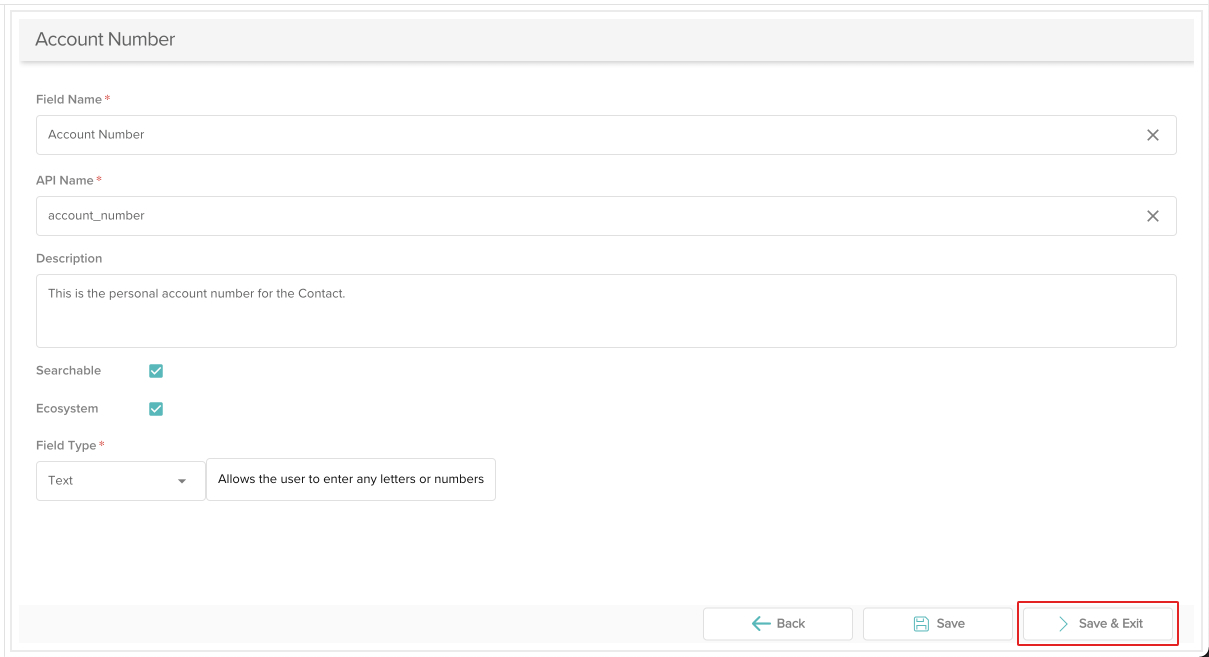
- Select a field type from the picklist. When you are done, click the Save & Exit button.
In order to protect data integrity, field types cannot be changed once a custom field has been created.
Required fields will have a red asterisk next to them. You will not be able to save the custom field until they are completed.
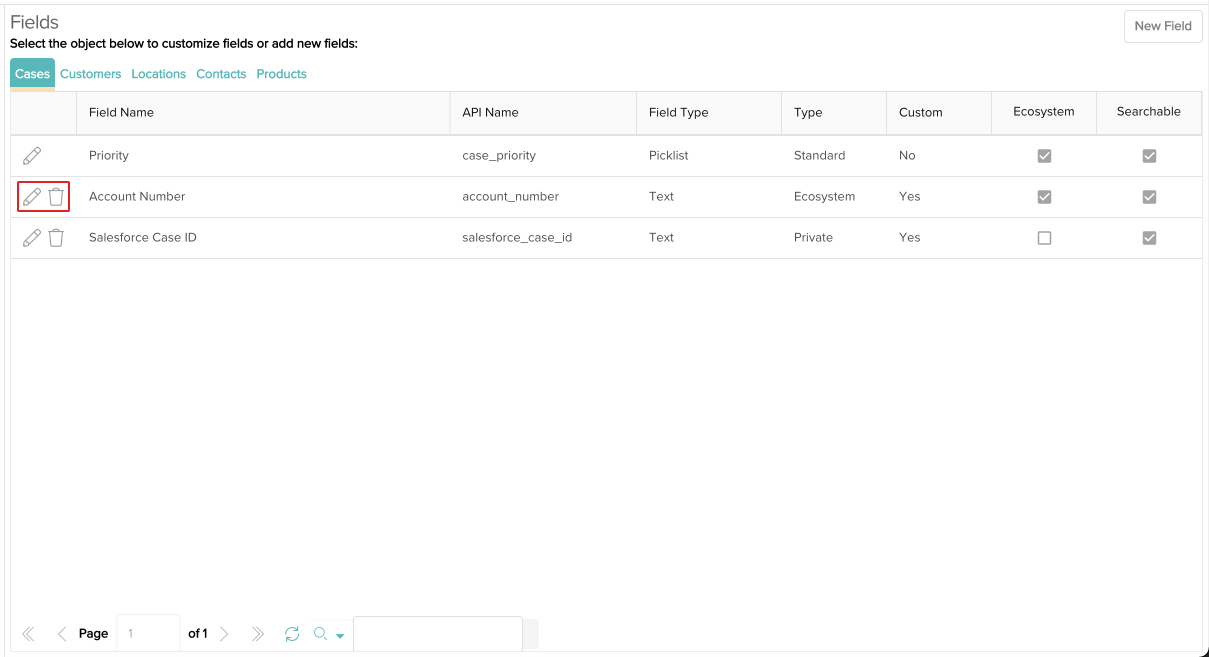
- Your new custom field has been created! It can now be added to a layout and updated by Users. If you click the back button at the top left, you will see your new custom field listed under the appropriate tab. Click the edit icon to update the field or the delete icon to remove it.
Deleting a custom field will remove it from any layouts it may be on. Any data entered in that field will also be deleted.