Add a Journey to a Case
Use Journeys to track a Case's lifecycle.
Last Updated:What's in this article?
Add a Journey
You can add a Journey to a Case if there are certain steps that need to take place in order to resolve the Case. Only one Journey can be added to a Case. You can easily add a Journey to a Case in the CX Manager. Let's learn how!
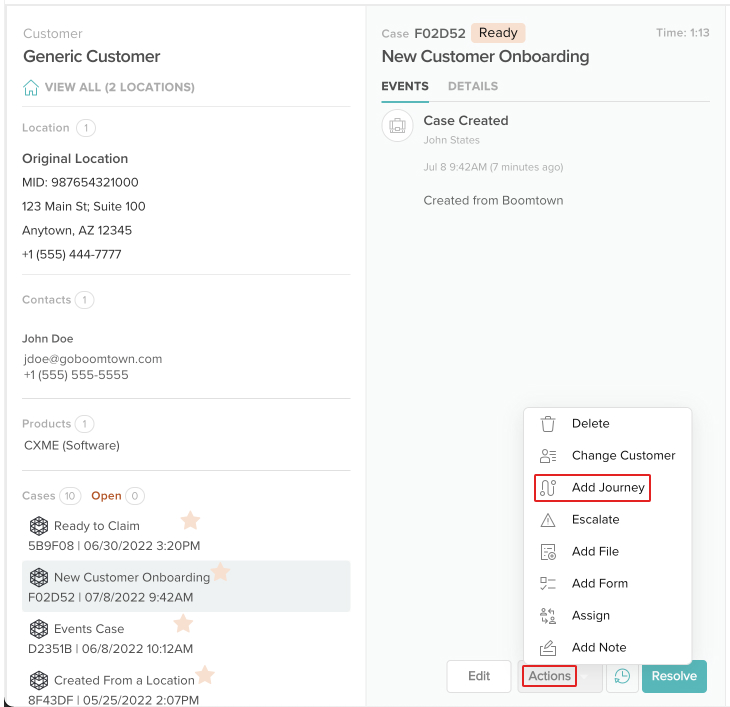
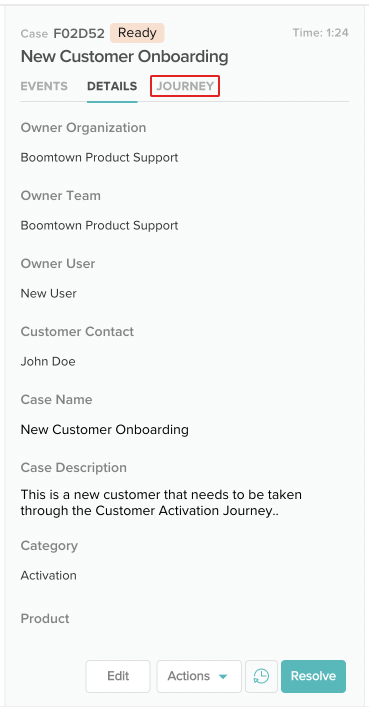
- Access the Case you wish to add a Journey to. You can find Cases using the Site Search bar at the top or the individual search bar in the Cases view.
- In the Case panel, click the Actions button, then click on Add Journey.
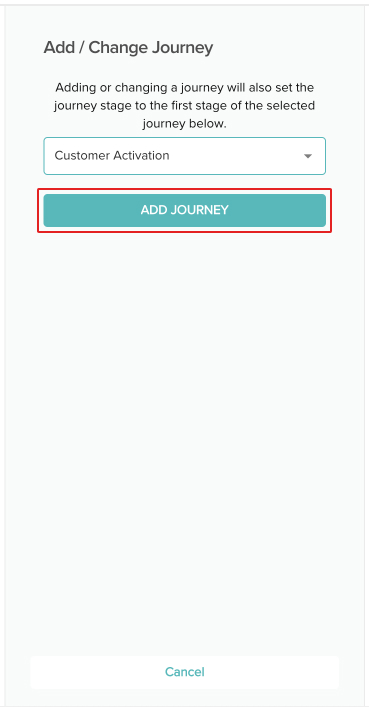
- Select the Journey you wish to add from the picklist, then click the Add Journeybutton.
- Click on the new Journey tab in the Case panel.
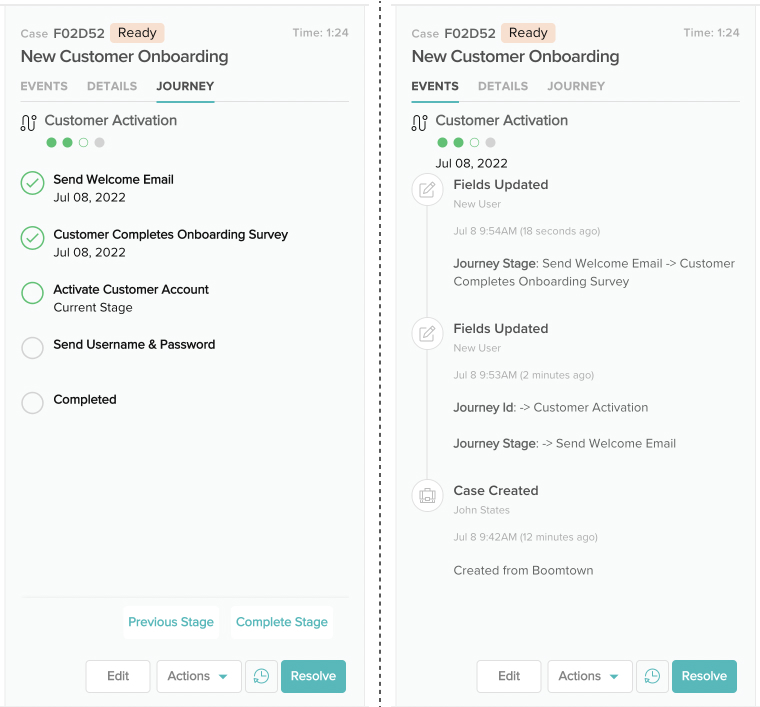
- Click the Complete Stage button to progress the Journey forward or the Previous Stagebutton to move it back.
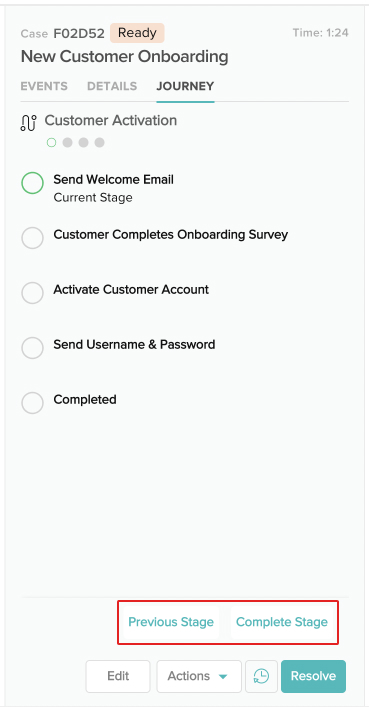
- The Journey progress can be seen in the Journey tab or the Events tab.