
Add or Delete Files in a Case
Keep files organized and attached to specific Cases.
Last Updated:What's in this article?
Case Files
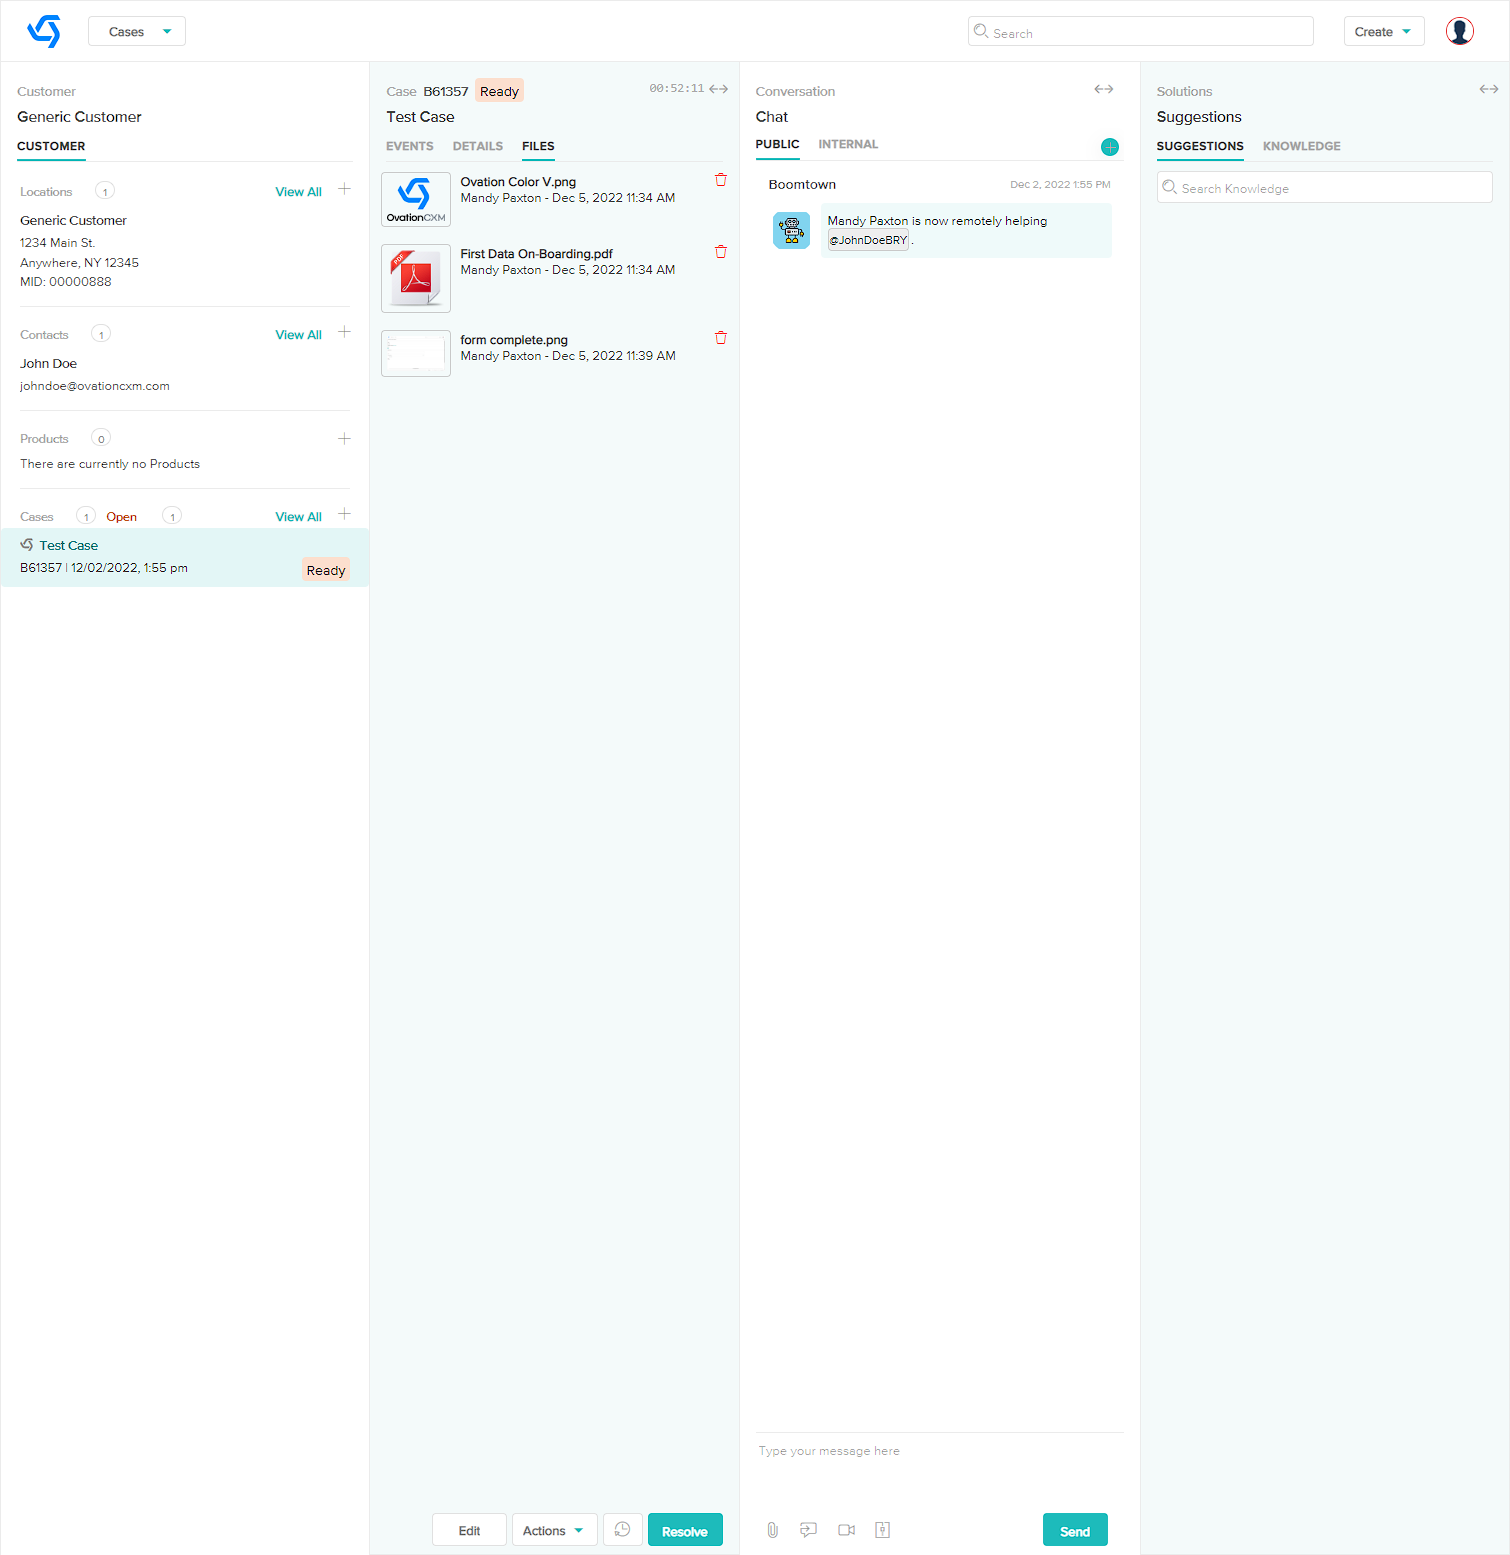
You can easily add external files to a Case to keep everything related to the Case all in one place. Any files sent via communication threads (e.g. email, chat, etc.) will automatically get added to the case. Anytime files are added to a Case, a Files tab will appear at the top of the Case panel. If you click on the Files tab, you can see a list of all files attached to the case. You can click on a file to see more information or download the file.
Commonly blocked file types include executable files (.exe, .bat, .cmd, .sh, .php, .asp, .js), which can contain harmful scripts that may compromise the system's security, and large video or audio files (.flv, .mkv, .mp4, .avi, .wav, .fla) that can slow system performance and take up significant space. This doesn't mean that these files are always dangerous or unwanted, but we chose to err on the side of caution for the benefit of all users.
When dealing with these files, it's necessary to use alternative methods. For instance, consider hosting video files externally and providing a link within the case, or compressing and archiving (.zip, .rar) files before uploading them, to ensure security and optimized performance for everyone.
Remember that it's essential to follow the best practice of only uploading files that are necessary and relevant to the case. This will help to maintain a streamlined, efficient system and improve the overall customer experience.
Add Files
You can easily add files to a Case in the CX Manager. Let's learn how!
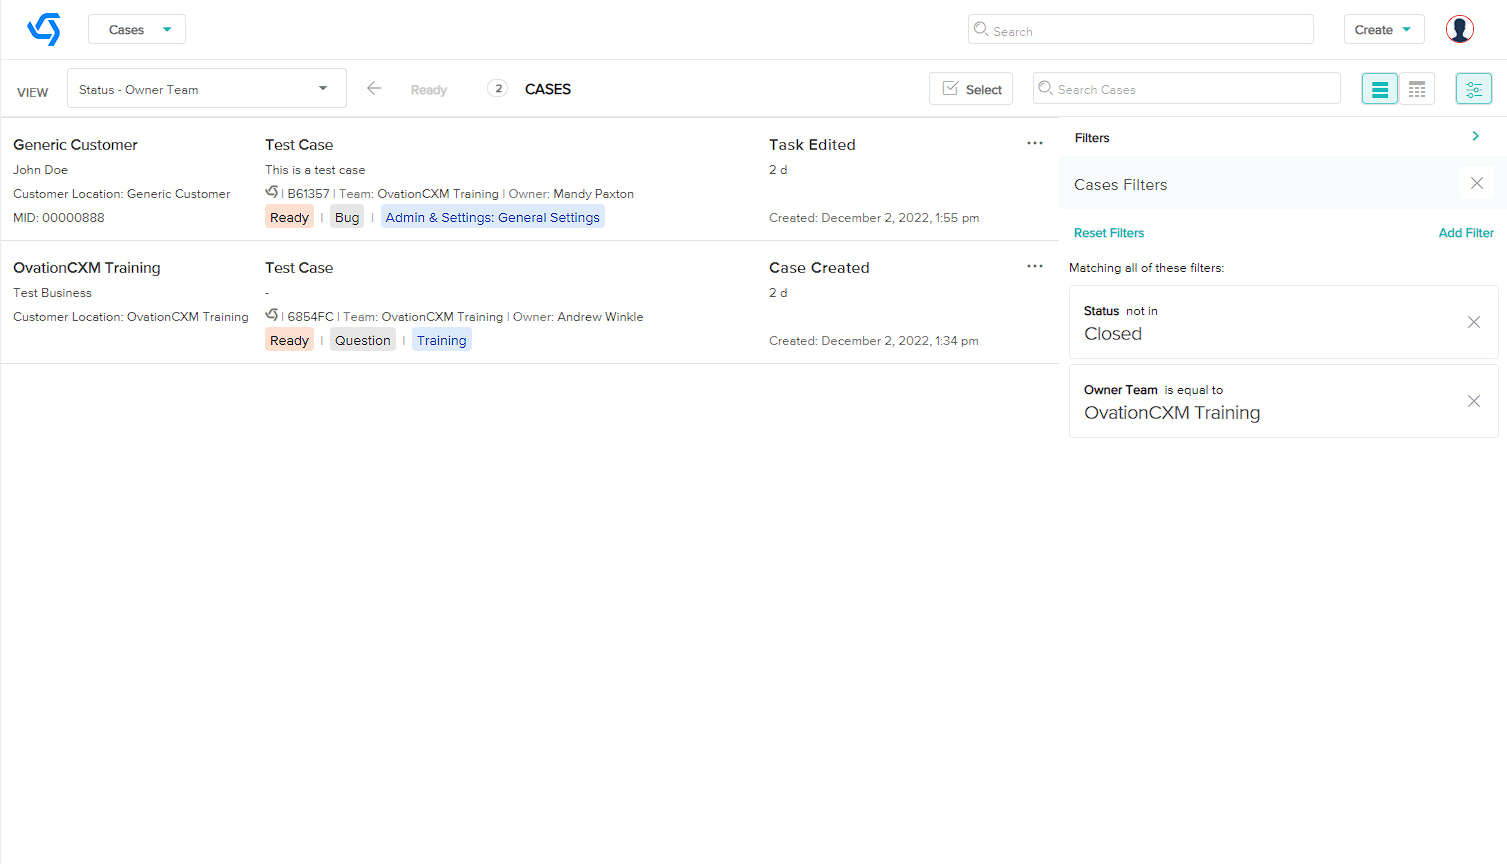
- Access the Case you wish to add files to. You can find Cases using the Site Search bar at the top or the individual search bar in the Cases view.
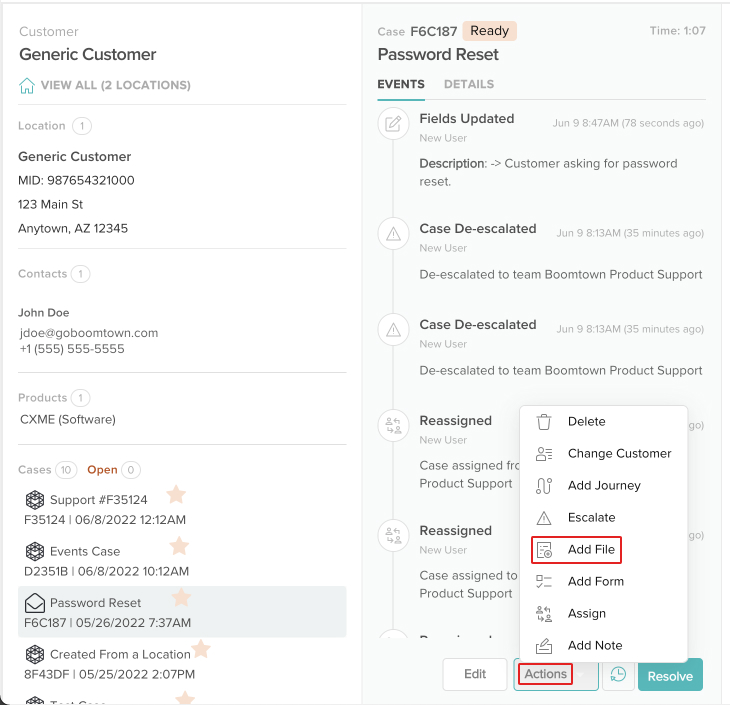
- In the Case panel, click the Actions button, then click on Add File.
- Click the Browse Files button.

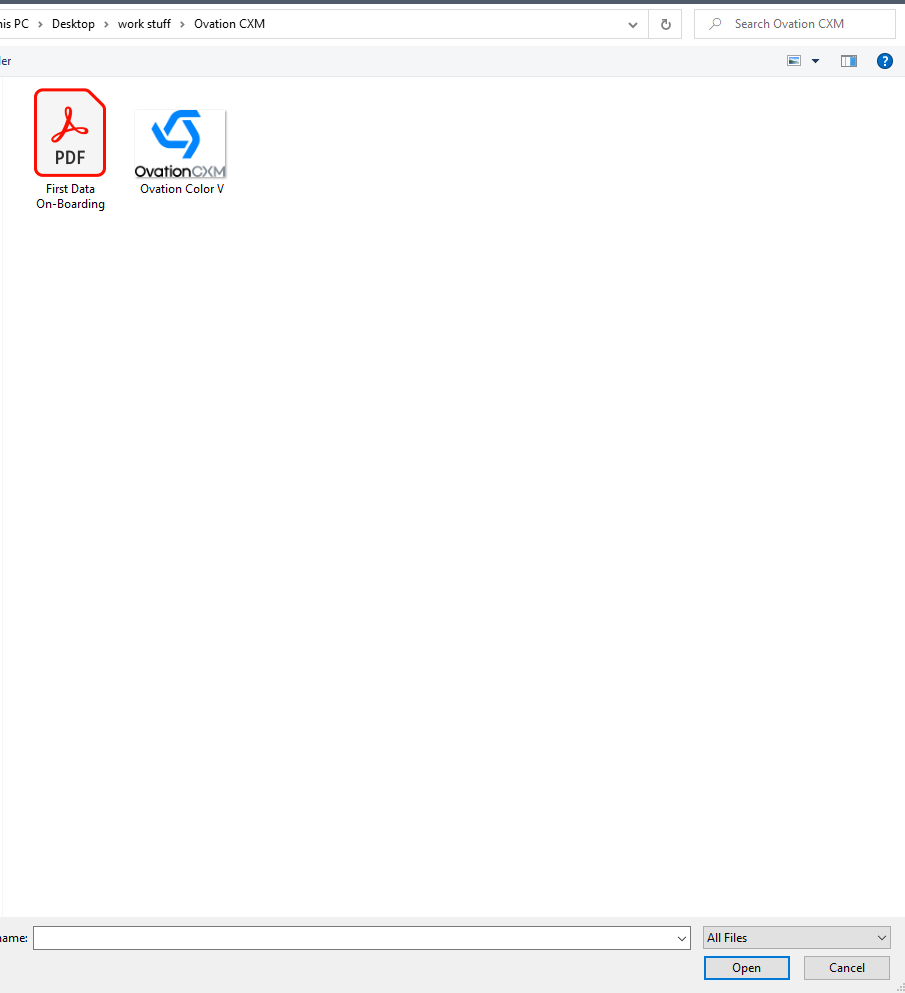
- A window will pop up allowing you to select the files from your computer that you wish to add to the Case. You can select 1 or multiple files. After you have selected the files you wish to add, click the Open button.
- The files you selected will be listed in the event log.
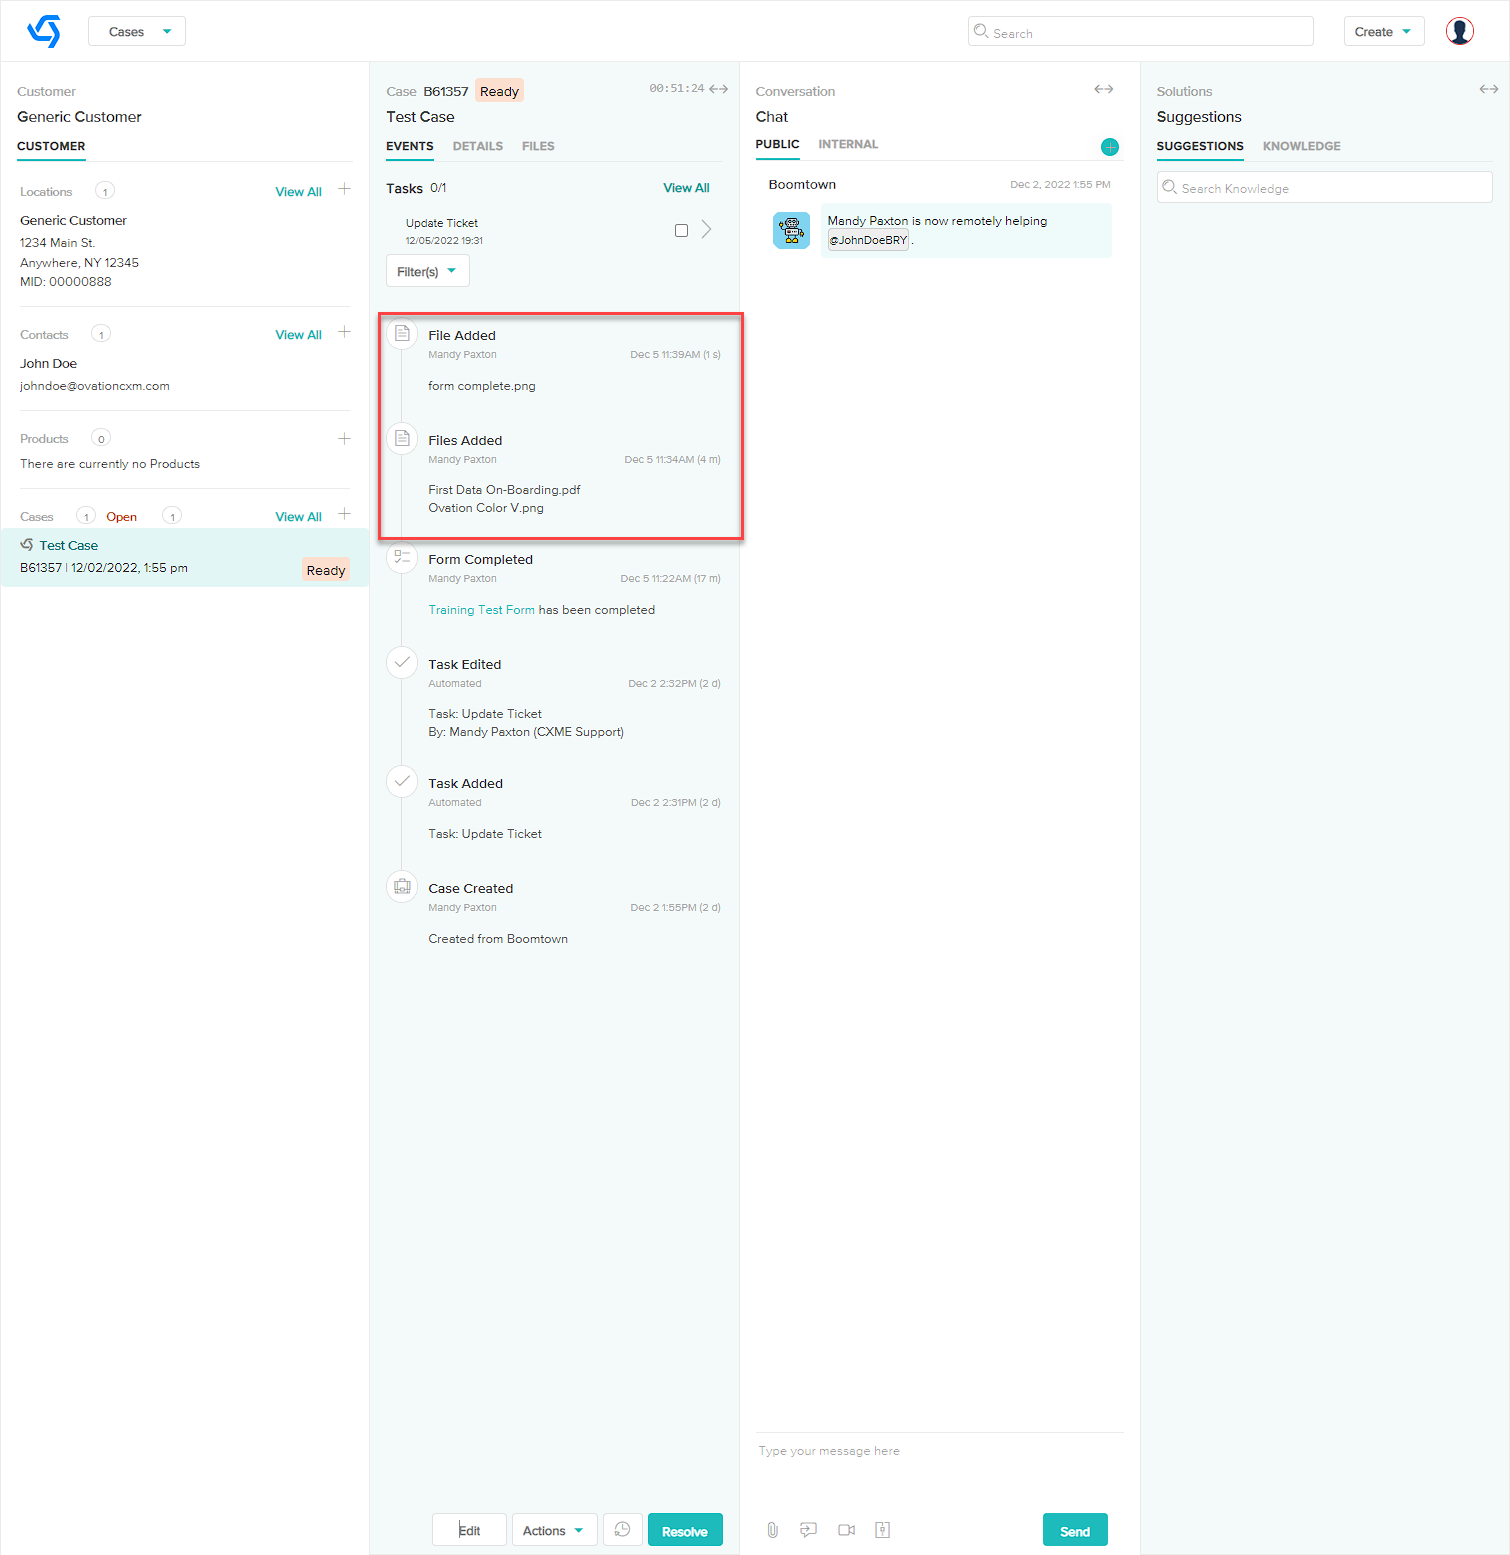
- Your files have been added to the Case! They will be listed under the Files tab in the Case panel.
Delete Files
You can delete files from Cases if they are no longer needed or were added by accident.
- Access the Case you wish to delete a file from. You can find Cases using the Site Search bar at the top or the individual search bar in the Case view.
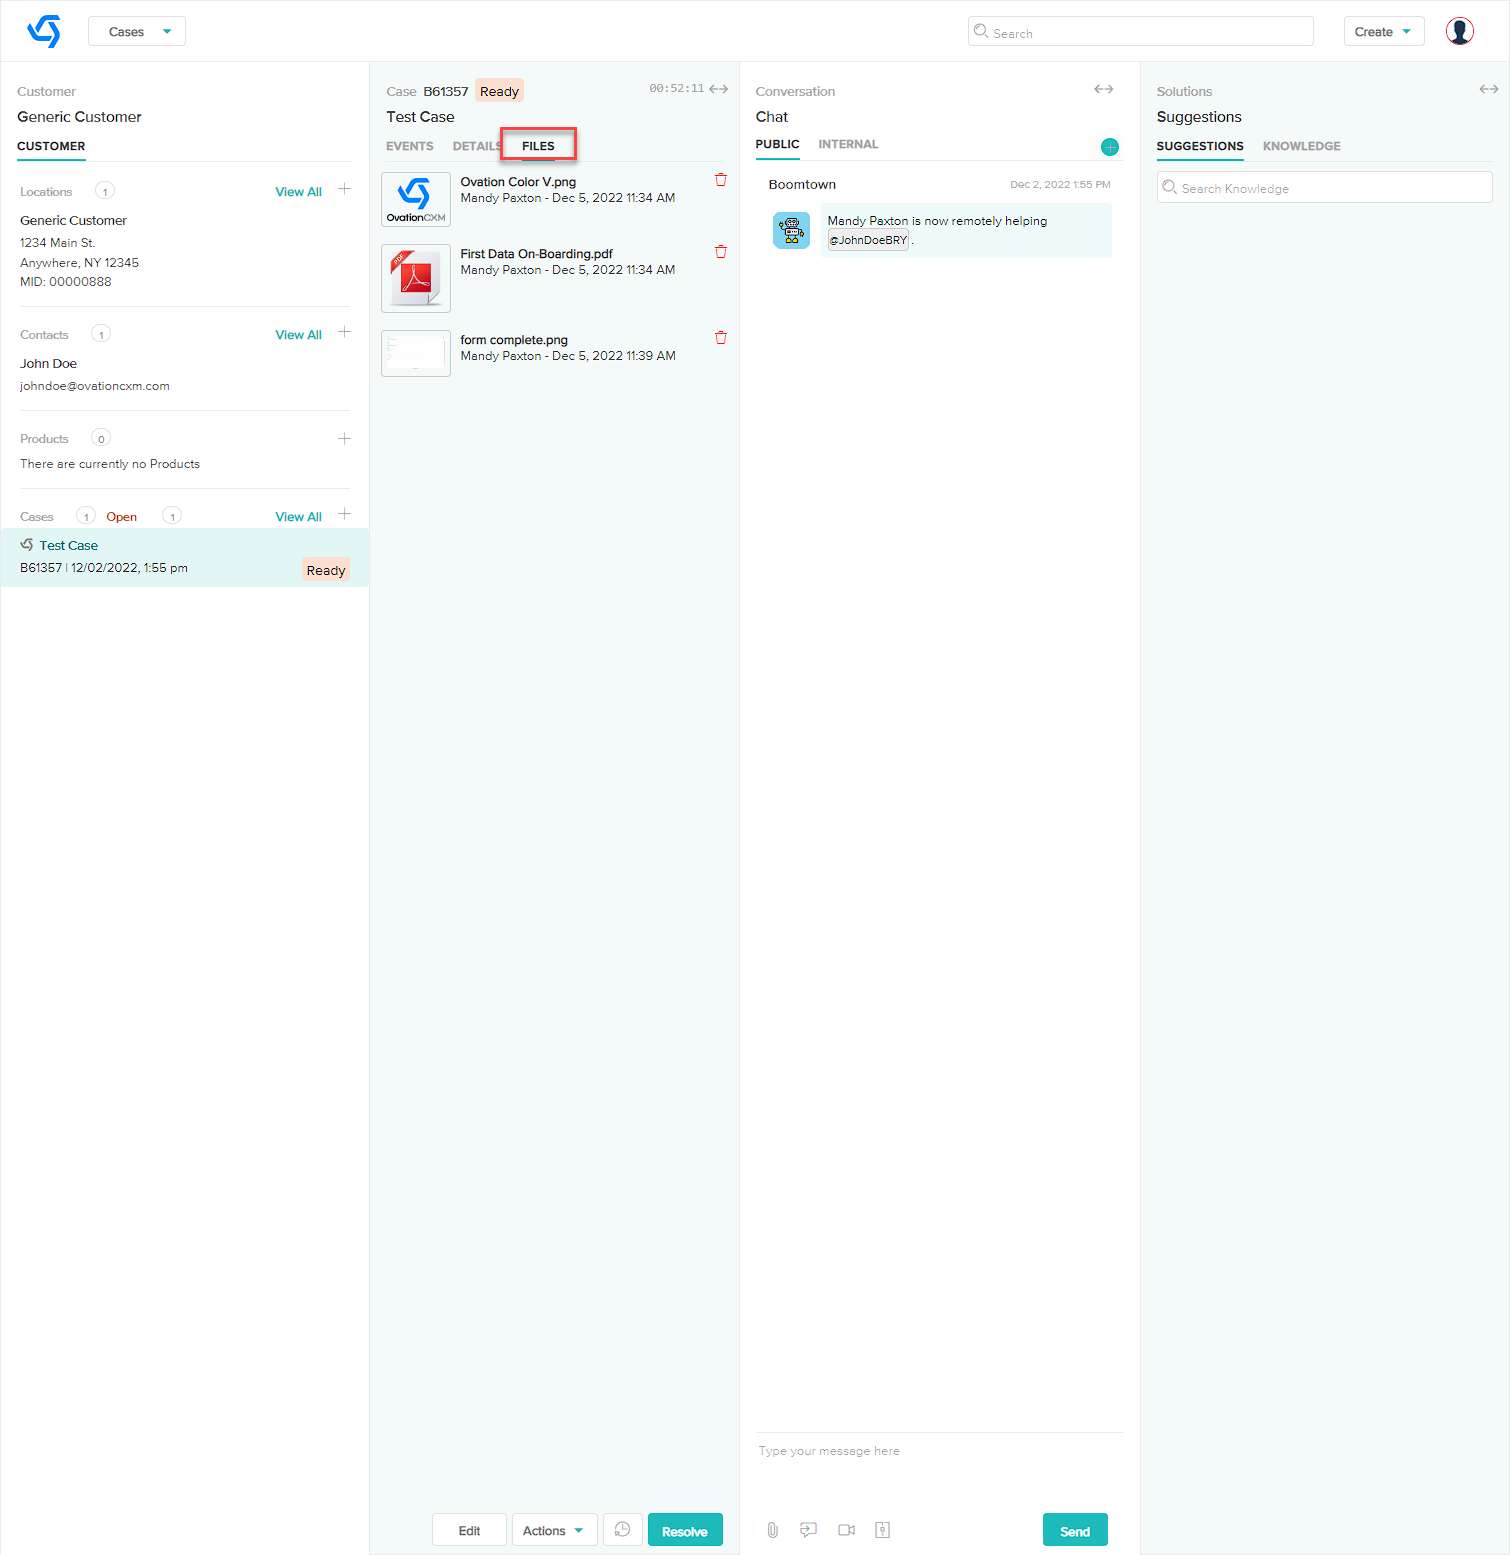
- In the Case panel, click the FILES tab.
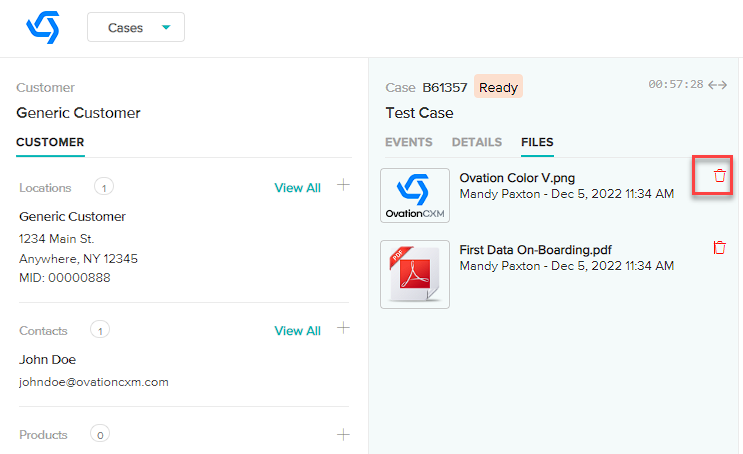
- Each file that has been uploaded will be listed. On the right hand side there will be a trash icon shown for each item. If you wish to delete an item, click on this icon.
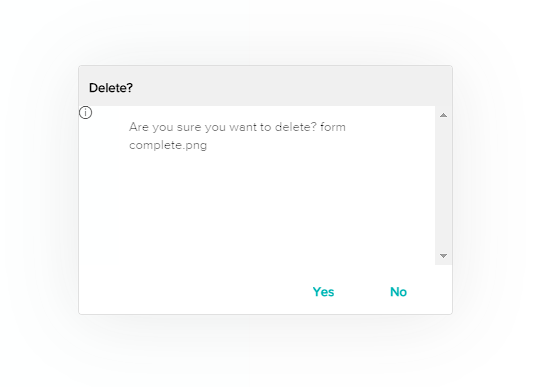
- You will see a popup asking you for confirmation. Click on Yes to delete the file.
- You can follow steps 3 and 4 if you need to delete more files.
- Your files have been deleted!
If all the files are deleted from a case, the Files tab will disappear.